
Living in a small space, you have to be creative about where to put all your stuff. Every little space can make the difference between bringing your back-up sweater or that book you really want to read some day.
Because we obviously spend quite some time driving, we need a lot of things close to us with easy access. Everything from maps, books and electronic devices till snacks, drinks and tools for quick fixes. We’ve traveled for a long time with an overfilled cubby box as our only real storage solution in the cabin, so it was definitely time to get things organised and to create some extra storage space.
As we didn’t fit any door cards yet during the rebuild, it was our best option to create something here. We wanted a door card made of durable, water-resistant fabric, removable to wash and strong enough to stay in place and carry heavy items like books and drink bottles. A 480 g/m2, 100% polyester canvas, commonly used for outdoor purposes, is what we decided to use, in a beige color to match the limestone of our door tops.
There are some canvas door cards on the market, but they wouldn’t fit our ‘84 One Ten door latch mechanism nicely. And, besides that, how cool would it be to create our own door cards that would perfectly match our interior and storage needs!
The design incorporates a few, differently sized pockets so we can have a better organised cubby box and have necessary handy items close to us on our doors. After finishing the design, we realised we had ordered way too much fabric. So much more even, that we could also create extra storage solutions for several other places in the car. We made one with two larger pockets to be fitted on the side of our Engel fridge. And one that hangs below the alpine window behind the driver’s seat, featuring a very large pocket with flap and several smaller pockets. Here we created a handy storage space in a spot where we could not make any permanent cabinets because of the door and the needed sleeping space. So having a flexible organiser, which can be removed and placed even outside while camping, turned out to be a very nice addition to our setup.
How we did it
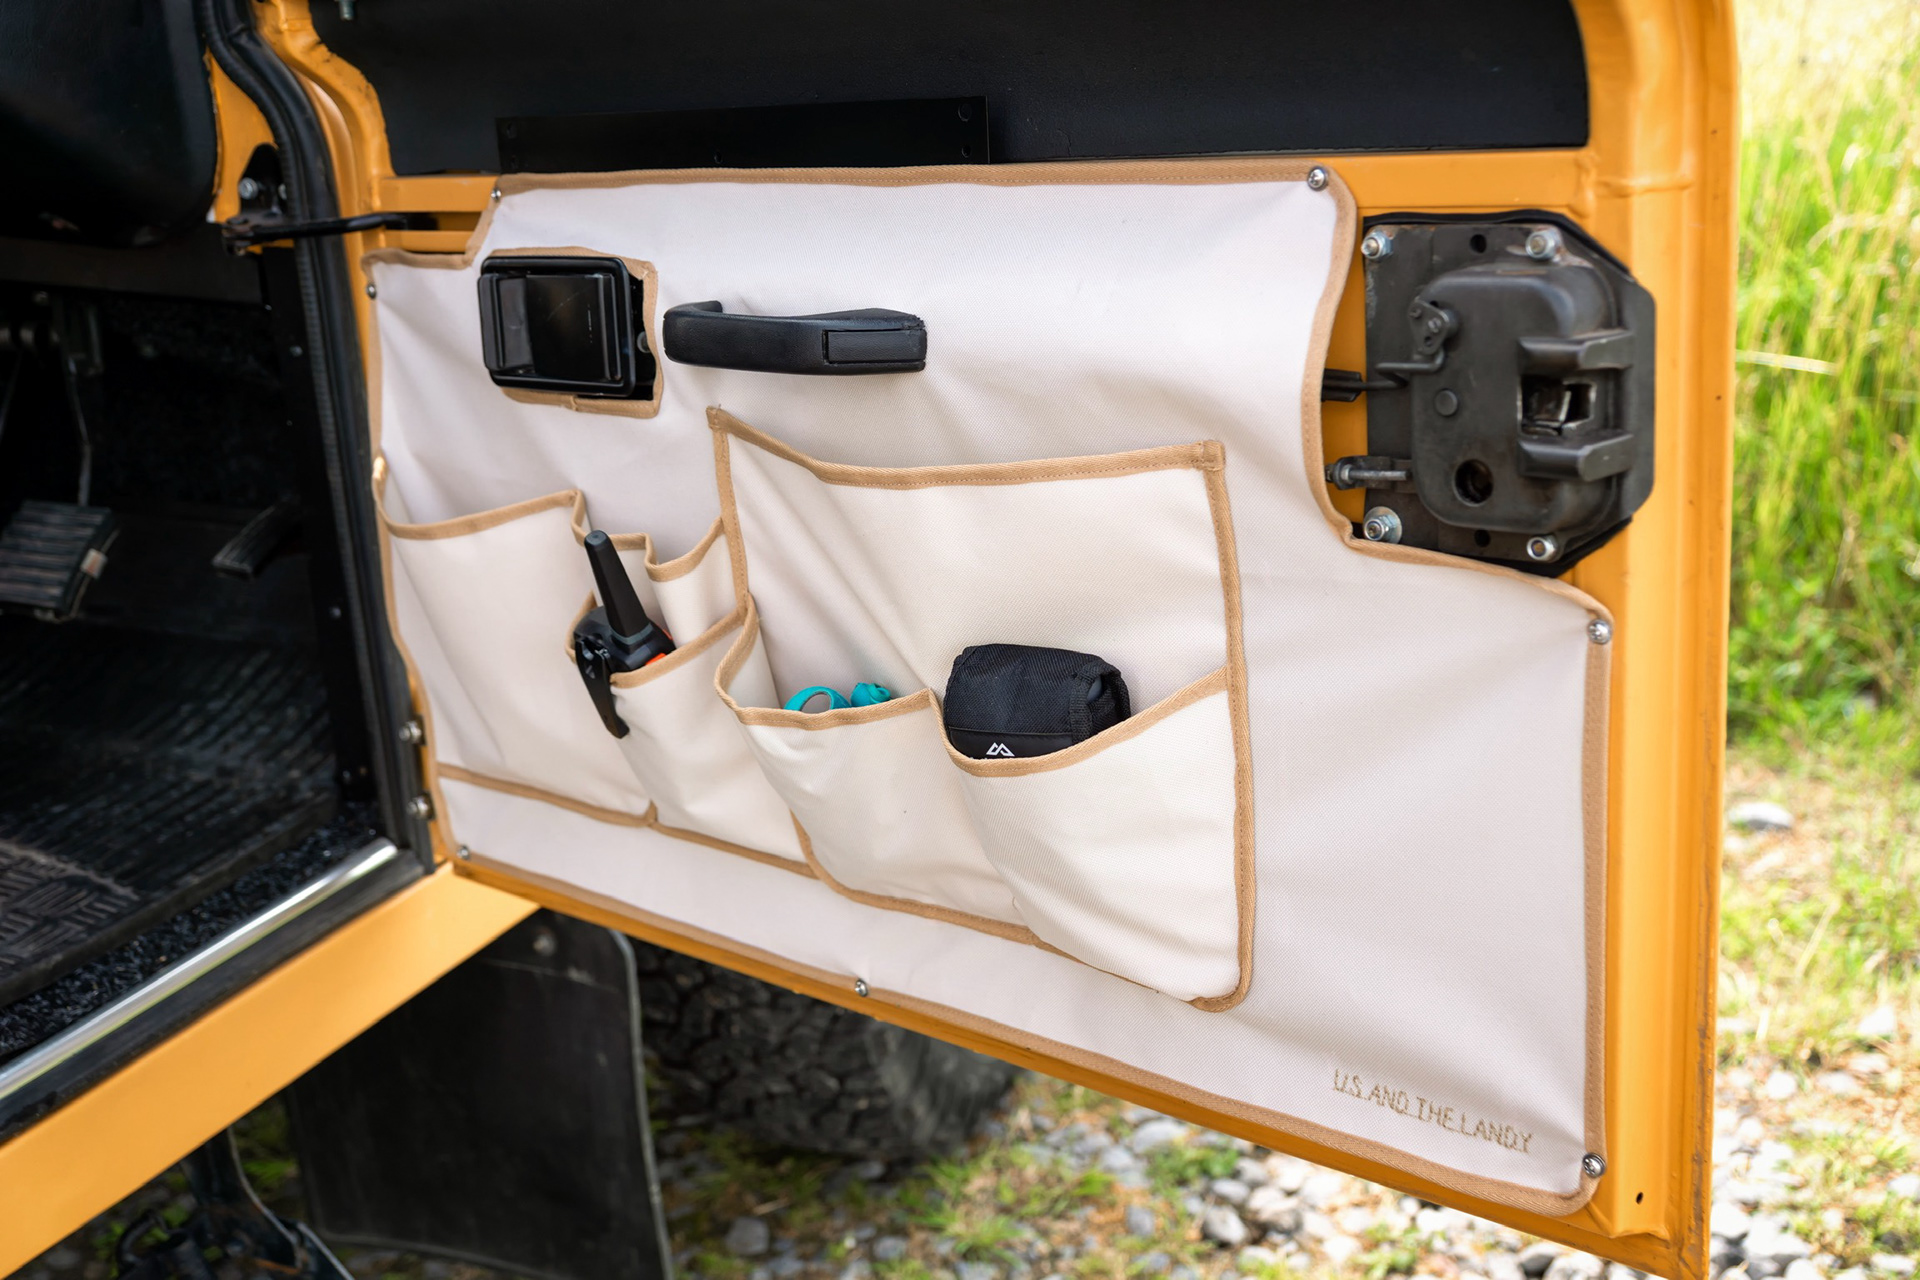
FRONT DOOR ORGANISERS
First we measured the front doors precisely, and to make sure we would have the exact sizes, we decided to make a paper template. We made a cut-out for the door-handle, lock and hinge.
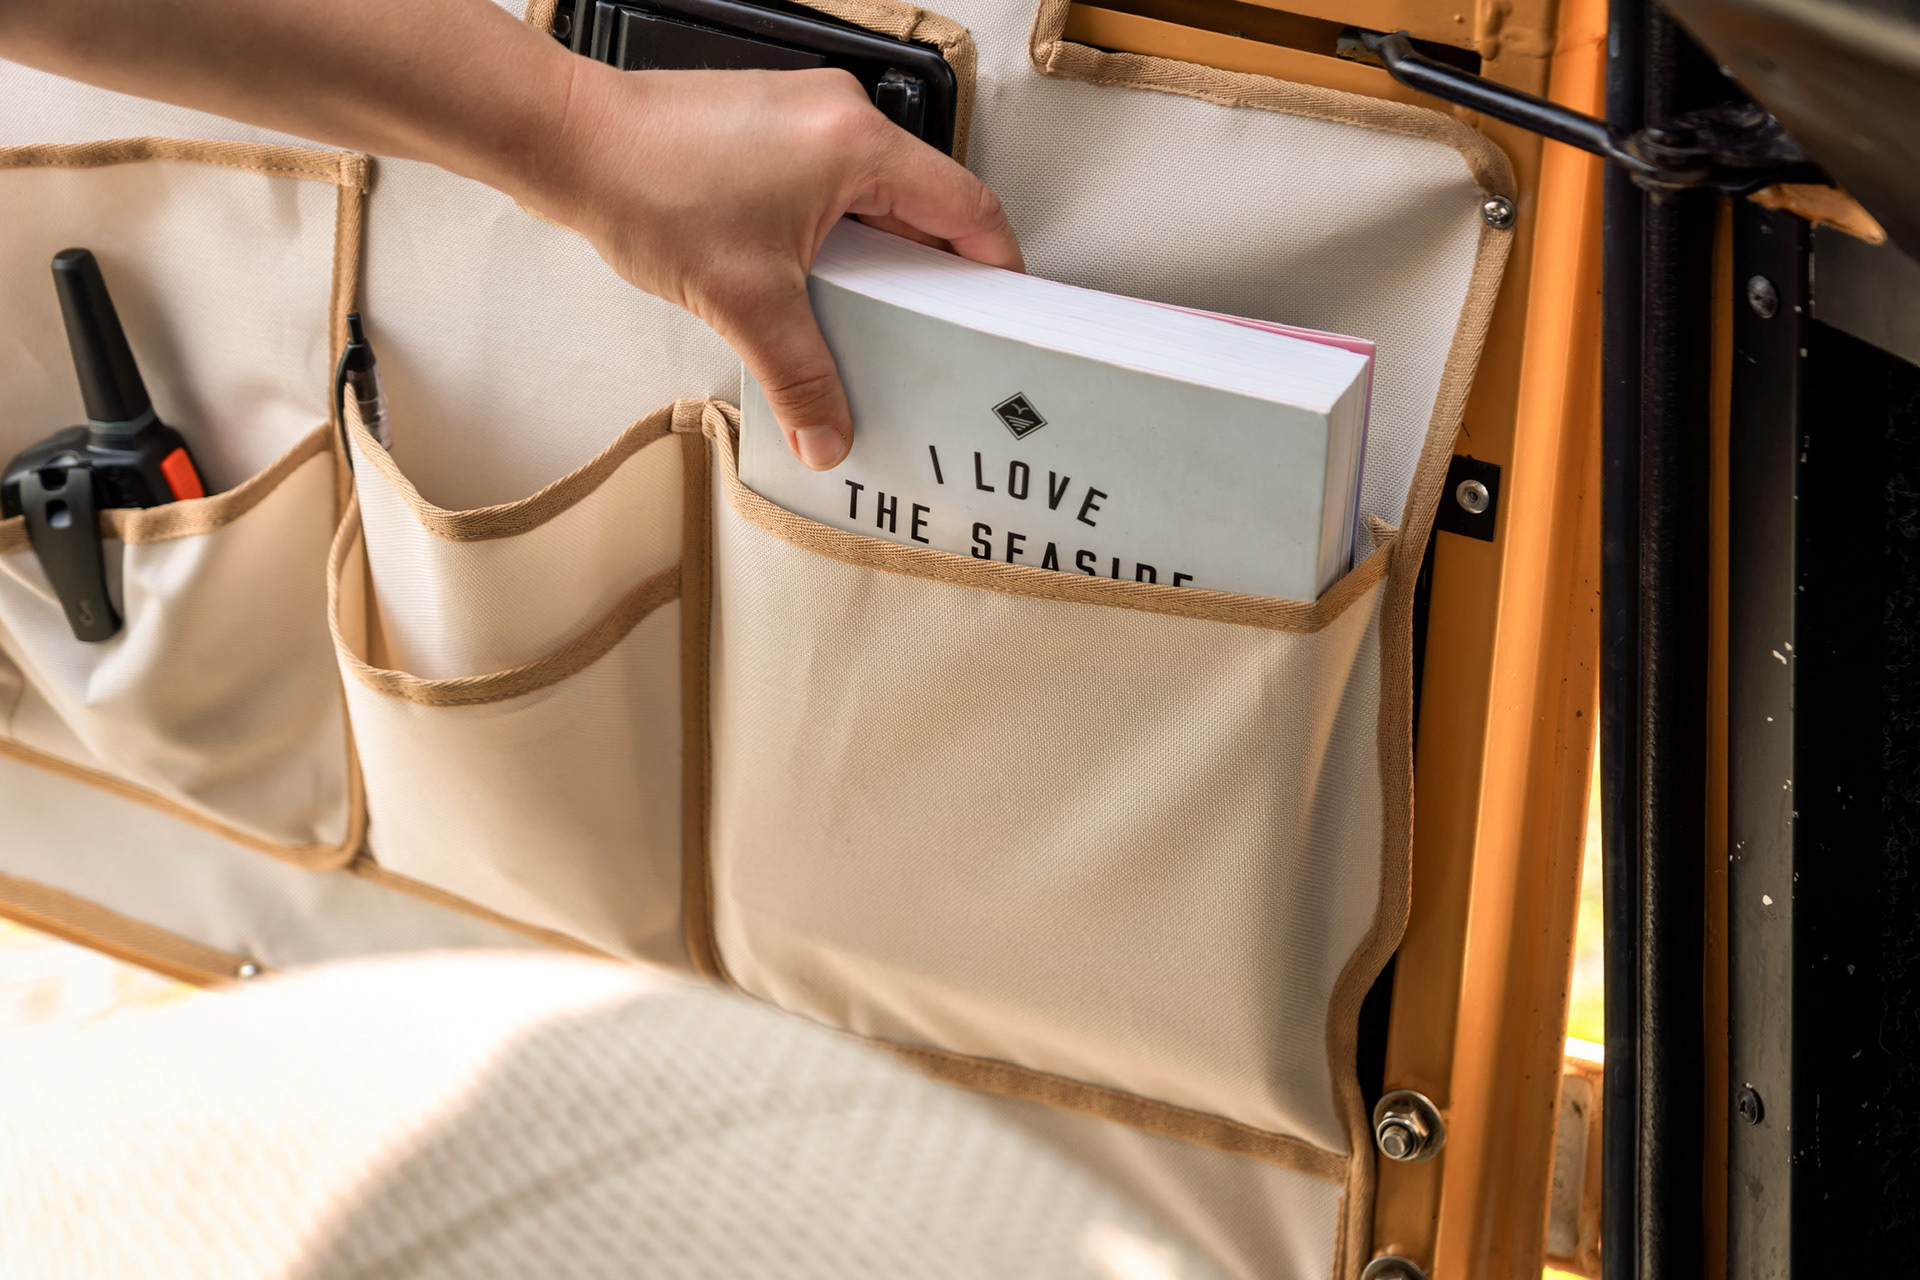
When we had the base for the organiser it was time to decide the layout of the pockets. Aiming to have different sized pockets to put all sorts of stuff away. We cut the sides of the pockets at an angle to create more room and volume after they are stitched straight on the base. After cutting all the pockets it was time to sew them on to the base. Luckily, Jasper’s mom is very experienced when it comes to sewing and helped us with this part. She also added strapping to the edges to create a nicer look. And, to make it even more customized, our own ‘Us and the Landy’ signature!
To attach the organisers to the door frame we used small stainless steel screws.
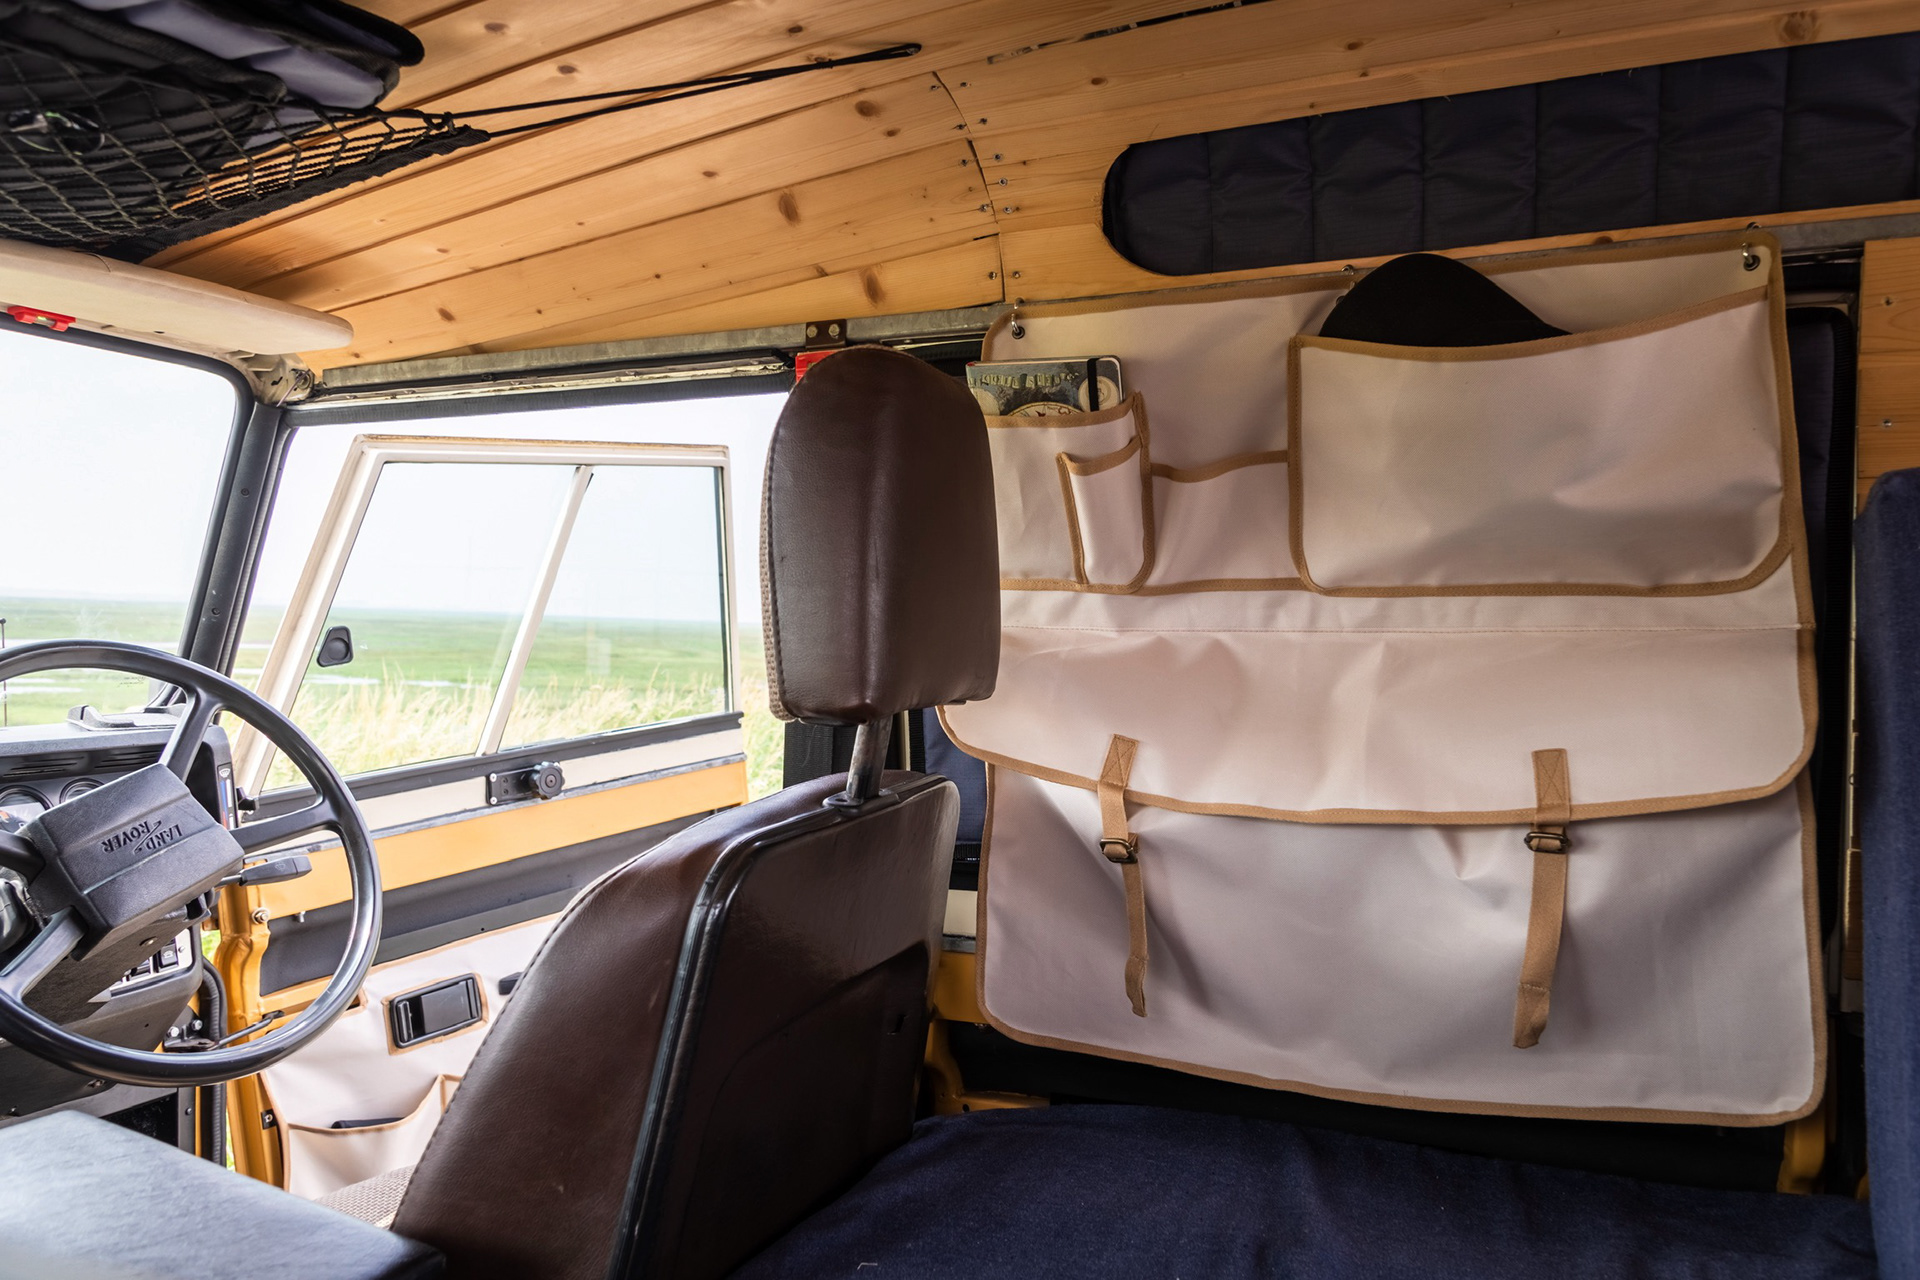
LARGE REAR ORGANISER
The one we are, in the end, most excited about. Yes, when you are living in a small space, solutions like these are very rewarding! We measured the space we have between the driver’s seat and the backrest of the couch and decided to go for a 60x60cm organiser.
On the bottom we wanted a big, deep bag to store some clothing or blankets. First we cut out the front (60x30) to fill up the whole width. To create extra volume we cut a strip of 8x120 to be the bottom and sides of this pocket. We sewed the strip to the front of the pocket and finally on to the base of the organiser. Because we wanted to be able to close this pocket we made a flap (20x60) to close off the top. With two straps and buckles sewed on to the pocket we are able to tighten it.
We decided not to have another big pocket at the top, but a few small ones. We cut these at the same angle as the pockets of the front door organisers.
At the top we punched three holes in the fabric so we can hang the organiser on the roof gutter with an S-hook.
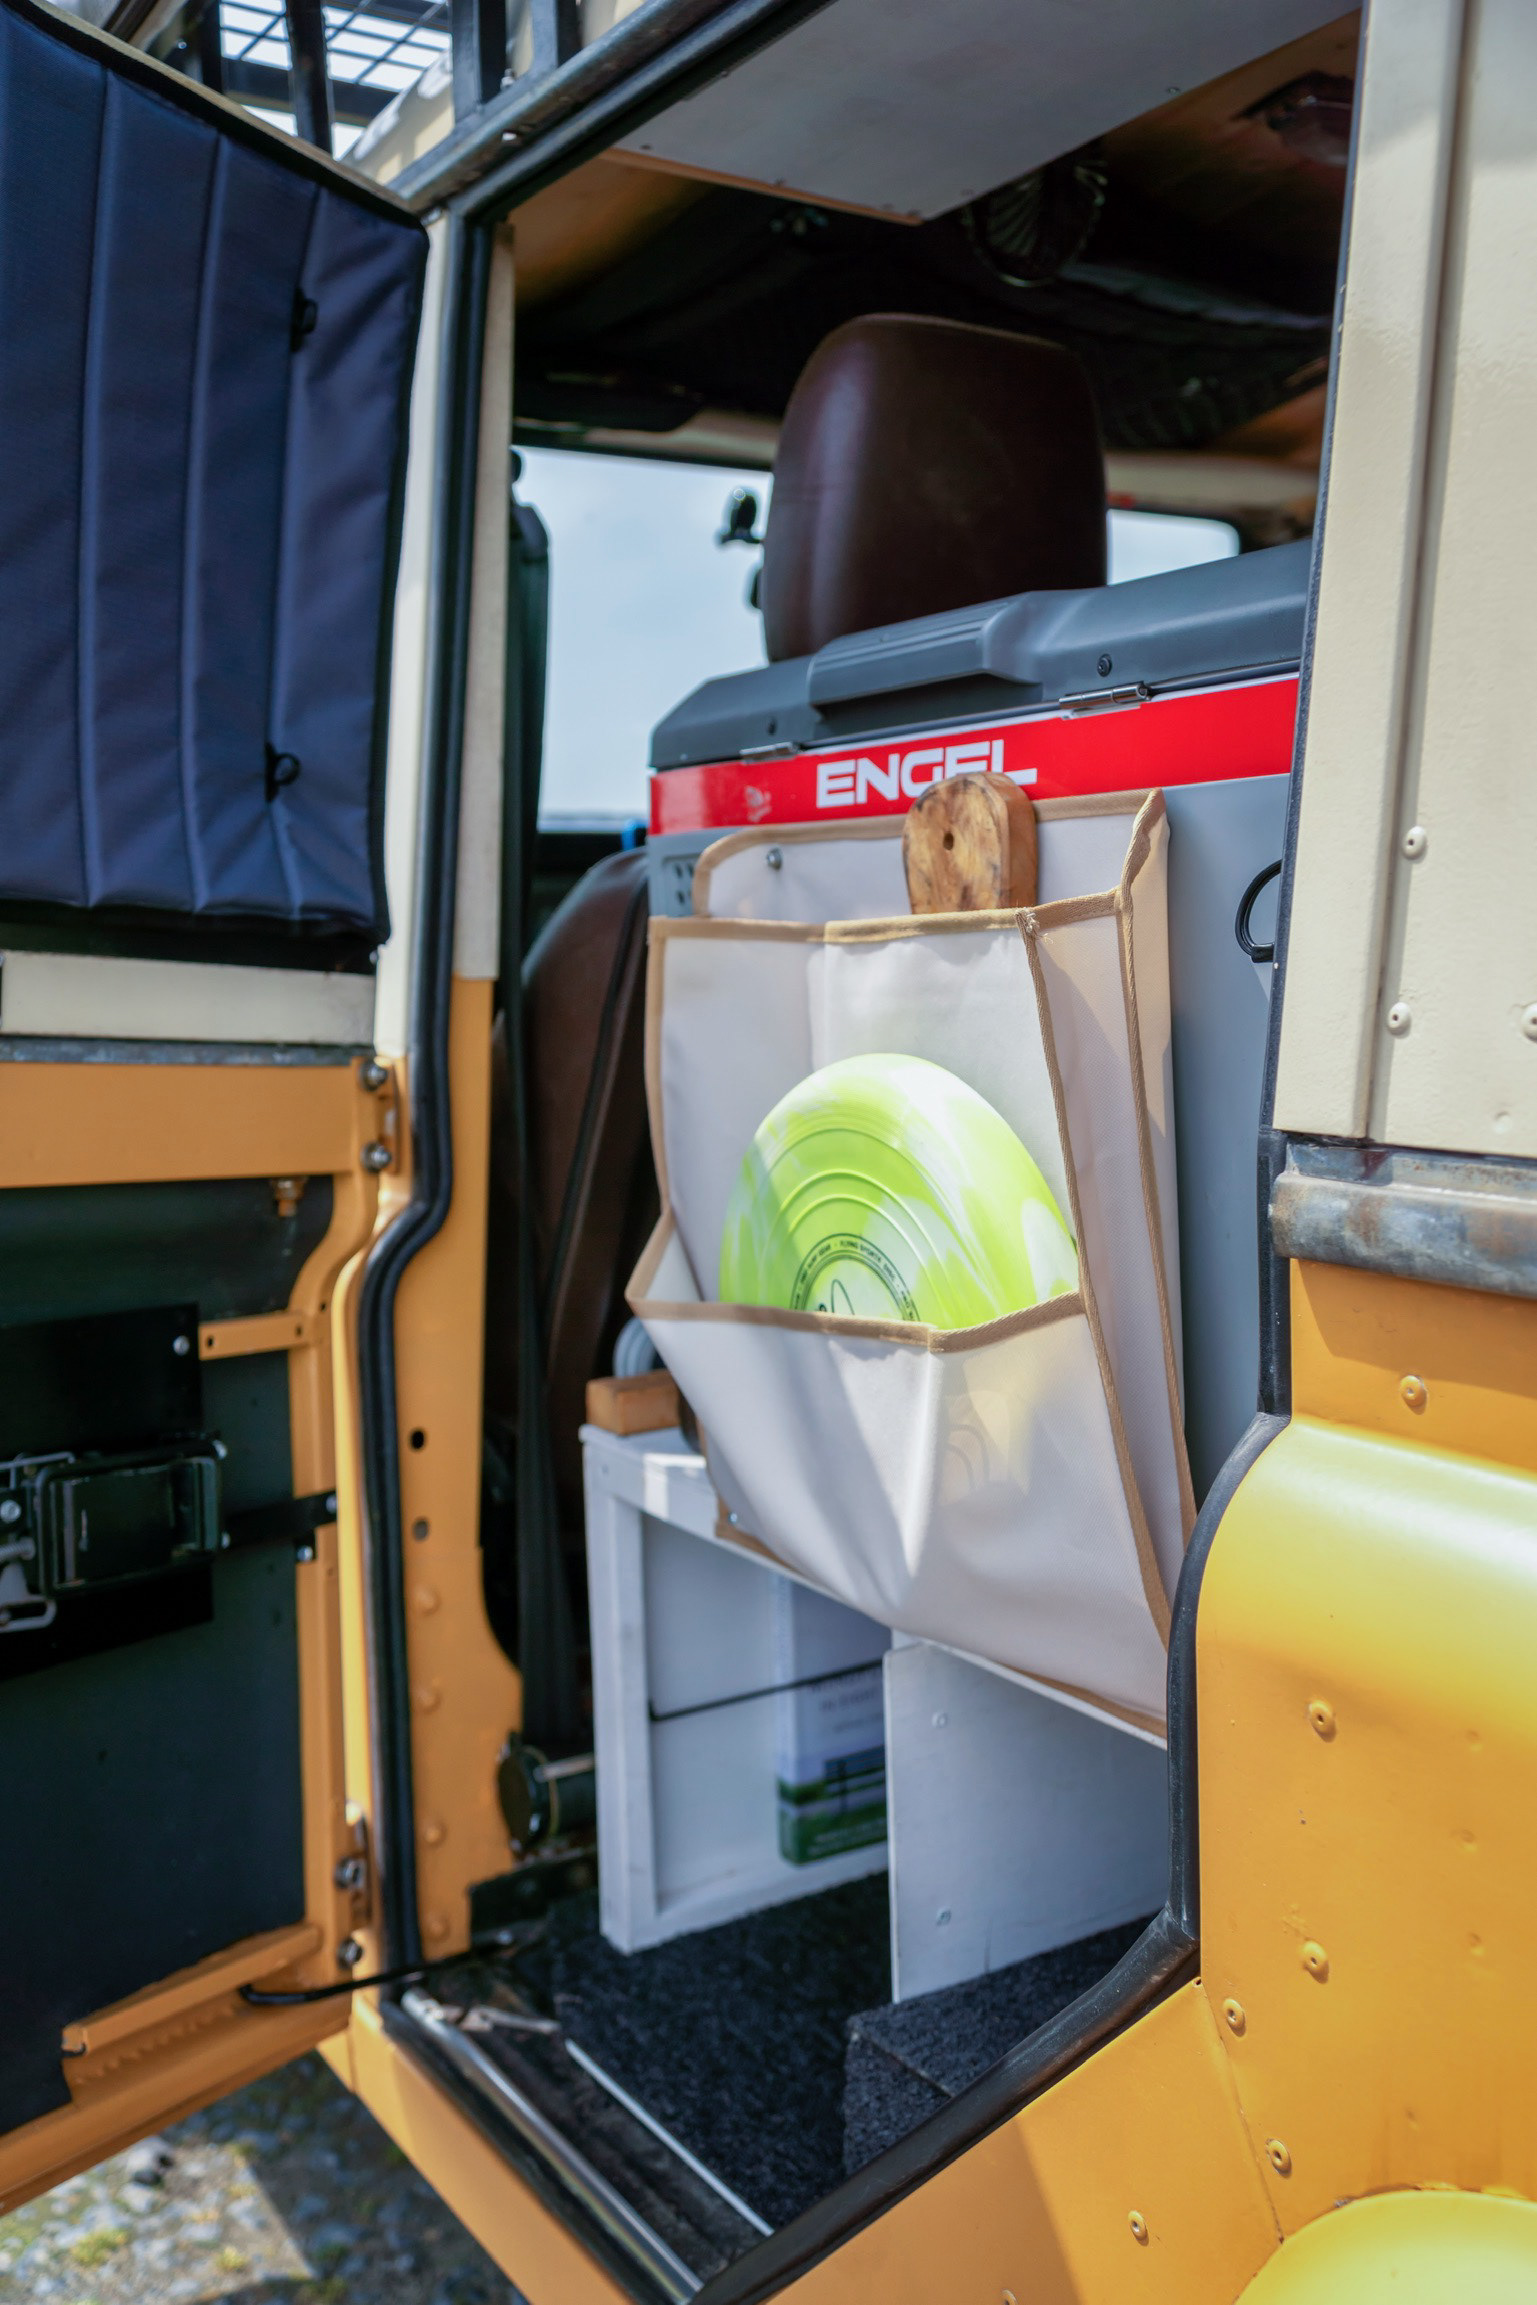
FRIDGE ORGANISER
There is not a lot of space between the fridge and the door, but just enough to have two narrow pockets. Because this pocket will be attached directly on the fridge, we had to keep the ventilation holes free. Therefore, the organiser couldn’t be bigger than 40x40cm.
With one big (35x40) and one smaller in the front (20x40), we created space to store some larger, flat items. These pockets have an envelope design which means they have tapered sides towards the top to create extra volume.
We carefully fastened the organiser with two short screws into fridge.
Materials used
3 meters of 480g/m2 beige canvas fabric (150cm wide)
25 meters of camel strapping (2 cm wide)
20 stainless steel screws
Total costs
Approx. €50,-
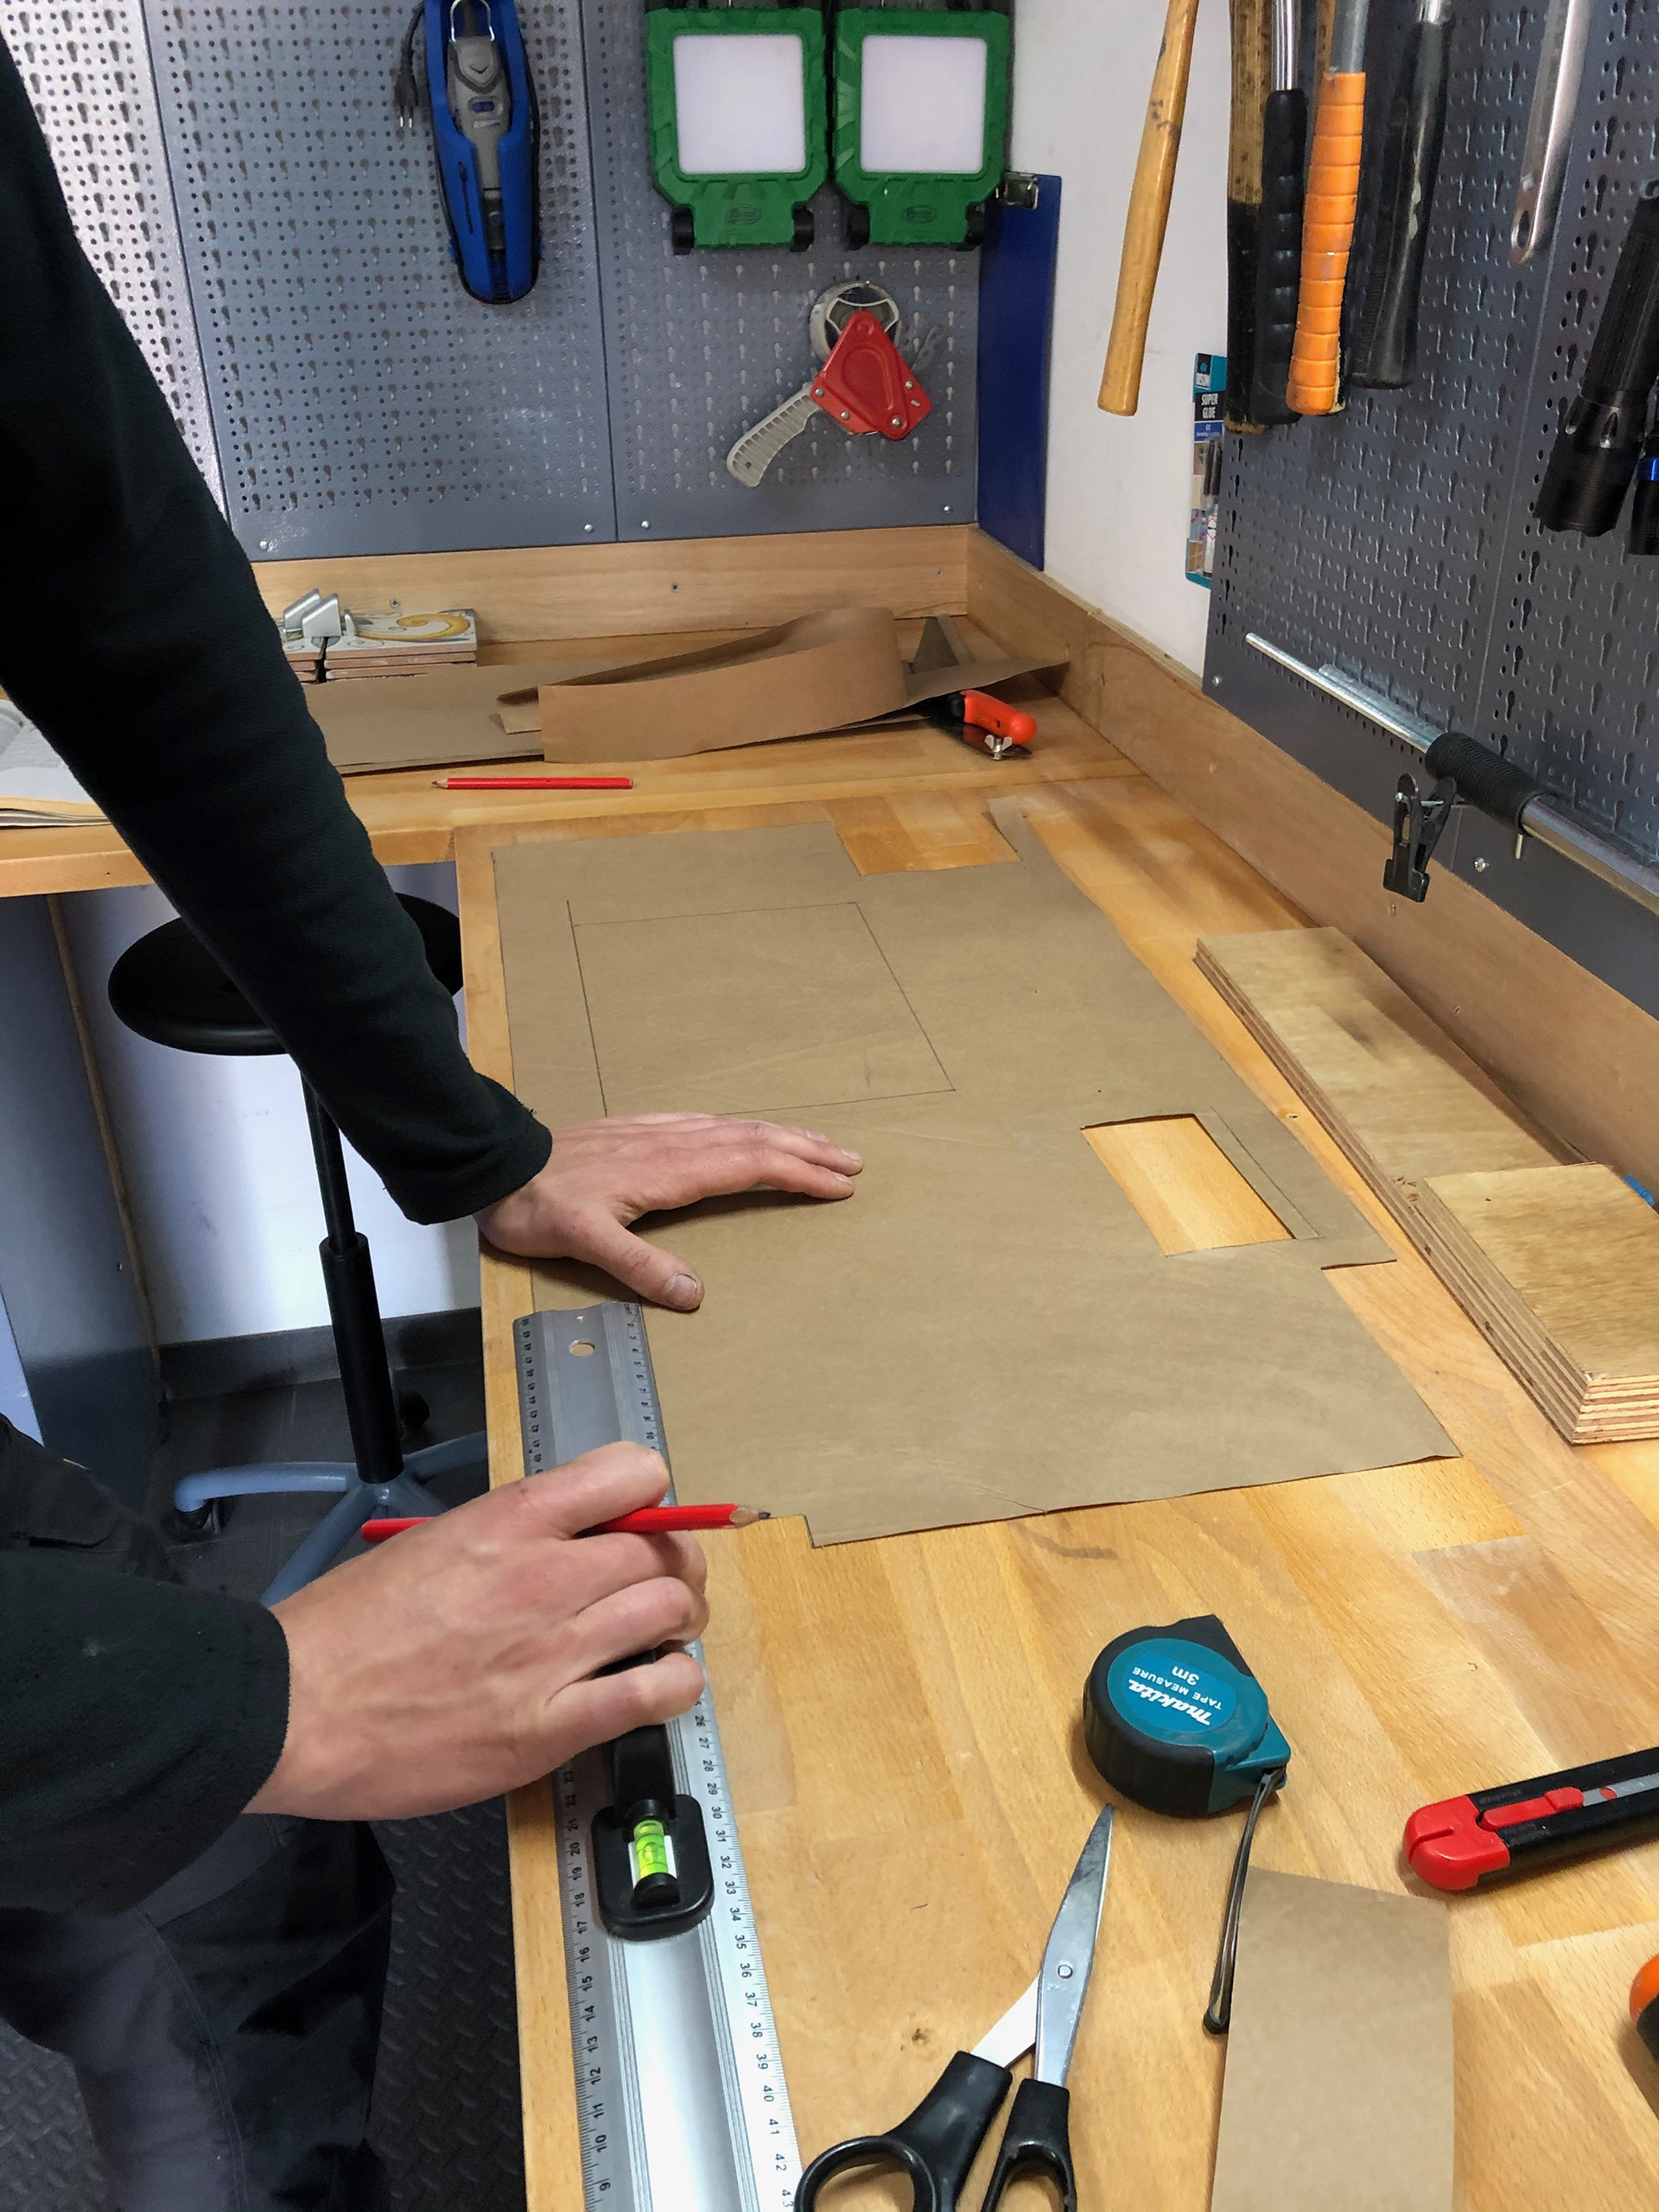
paper template of front doors
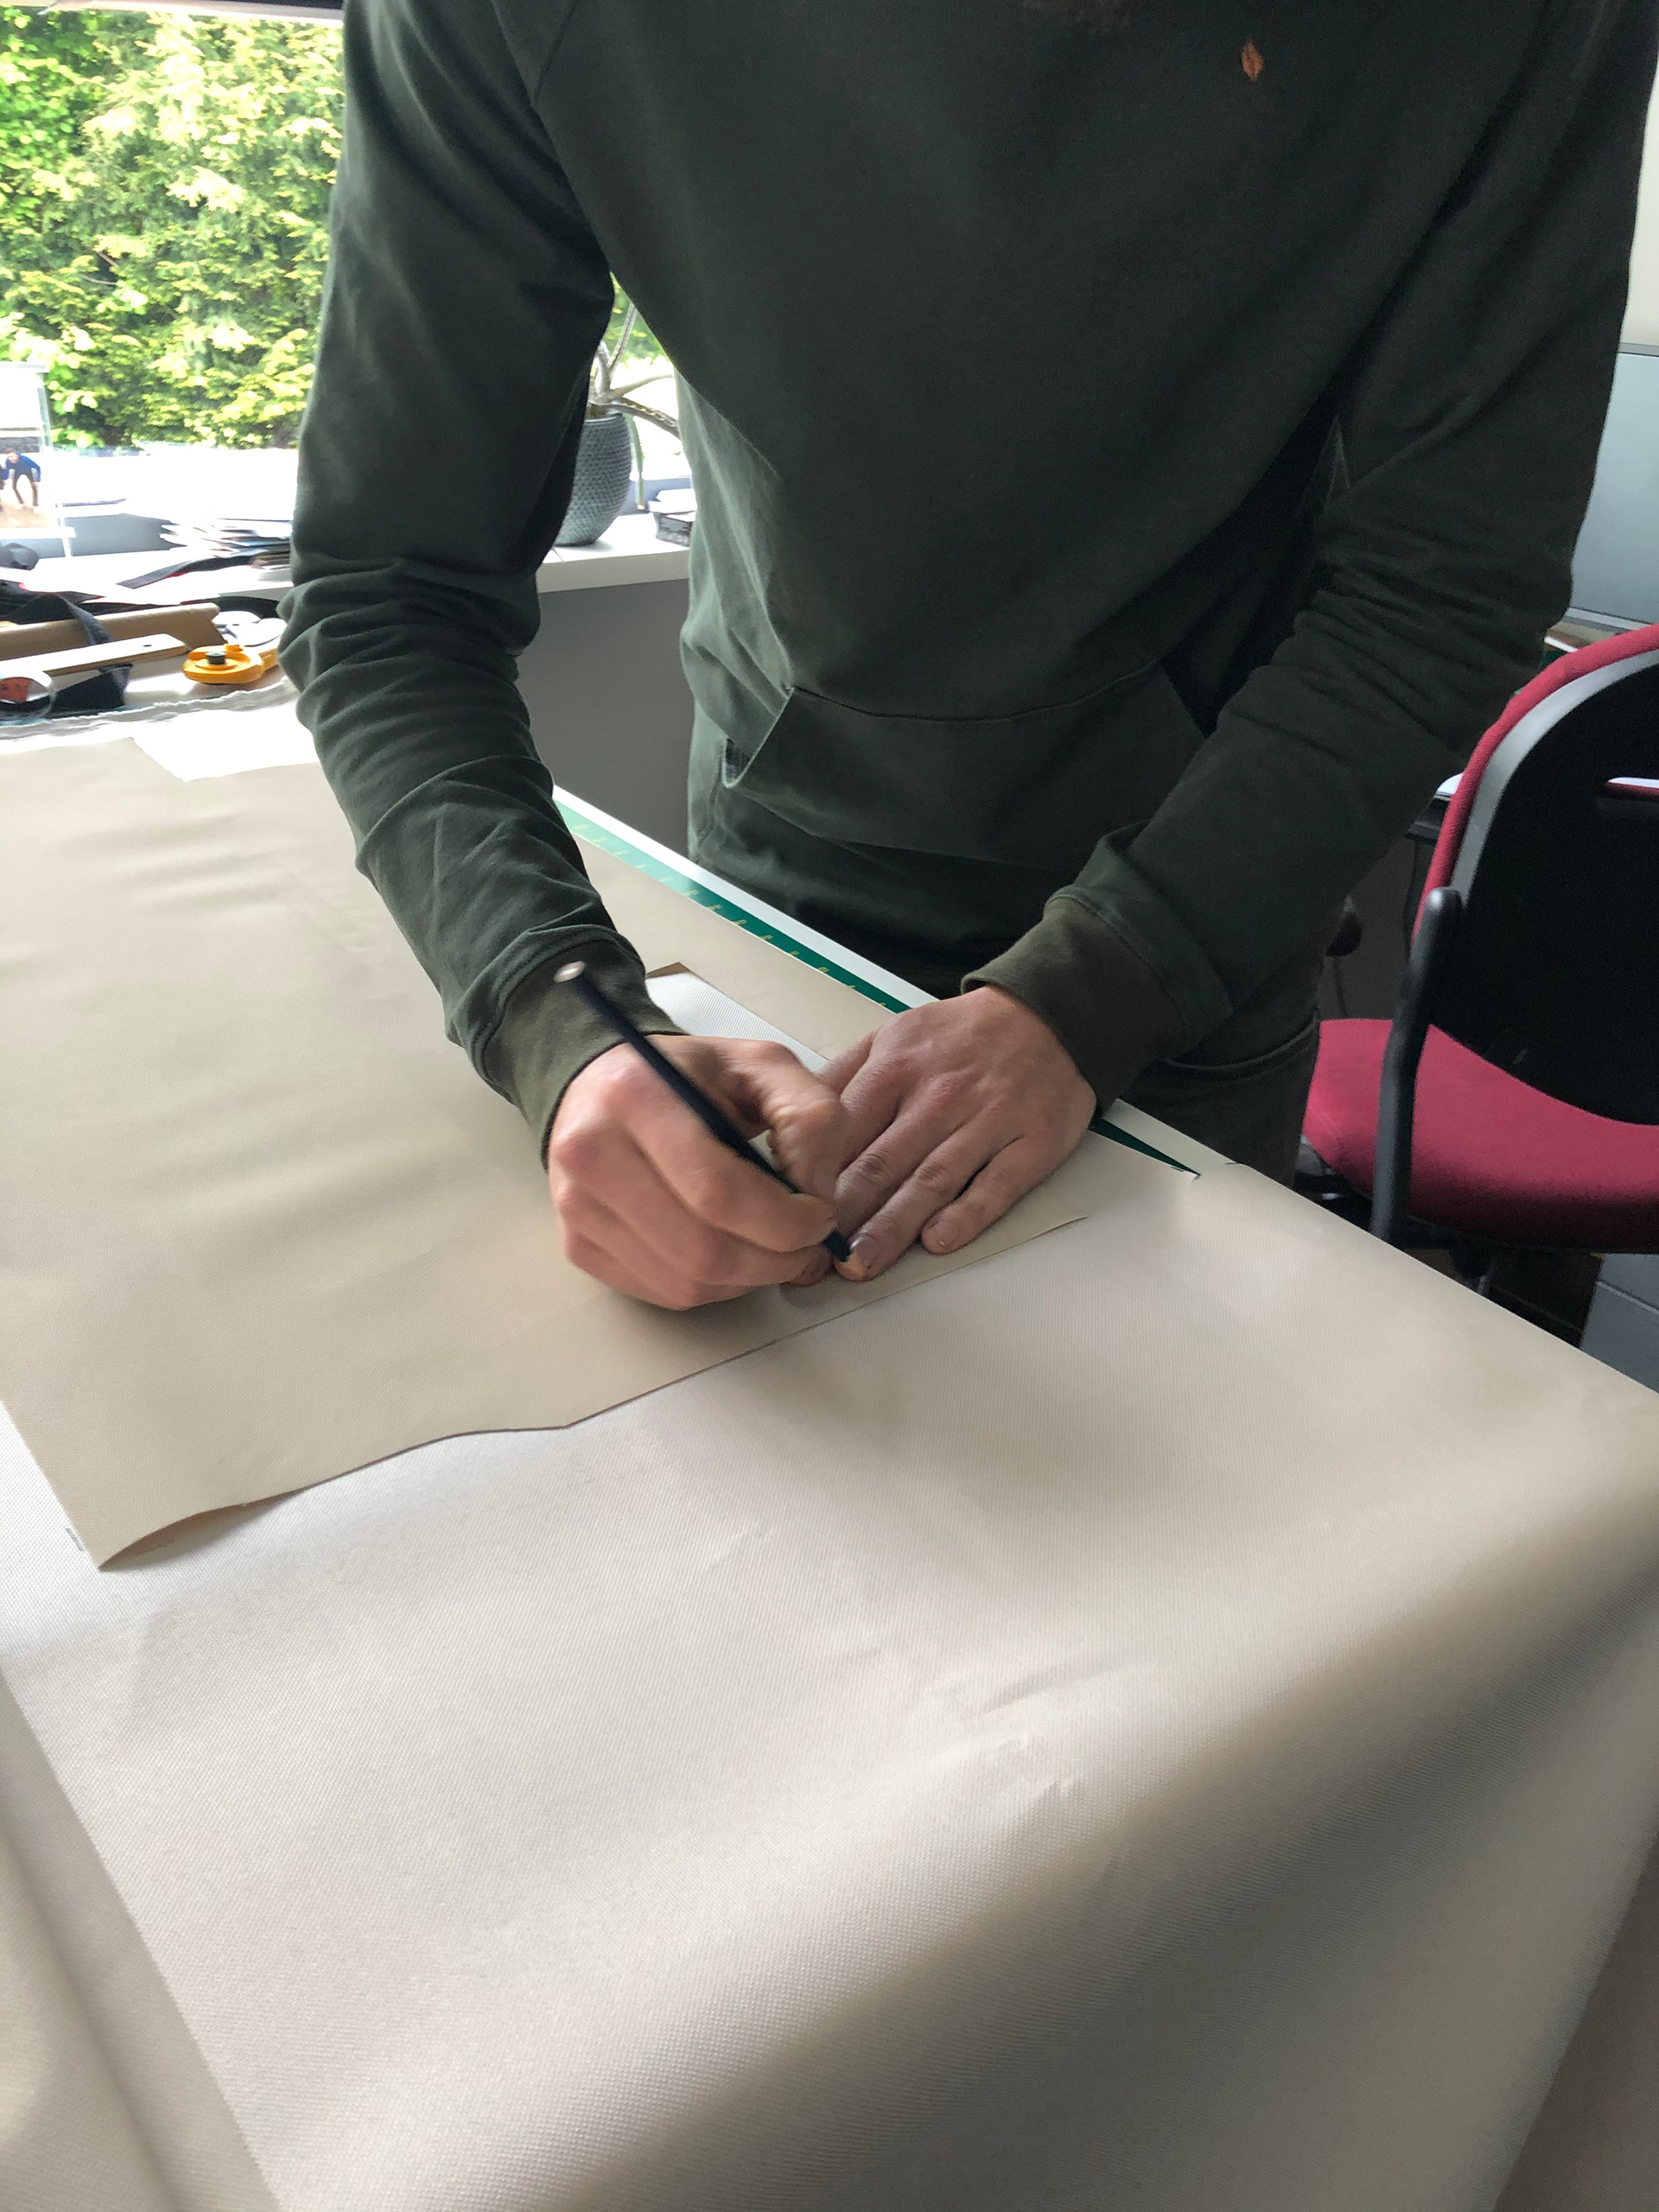
cutting the fabric
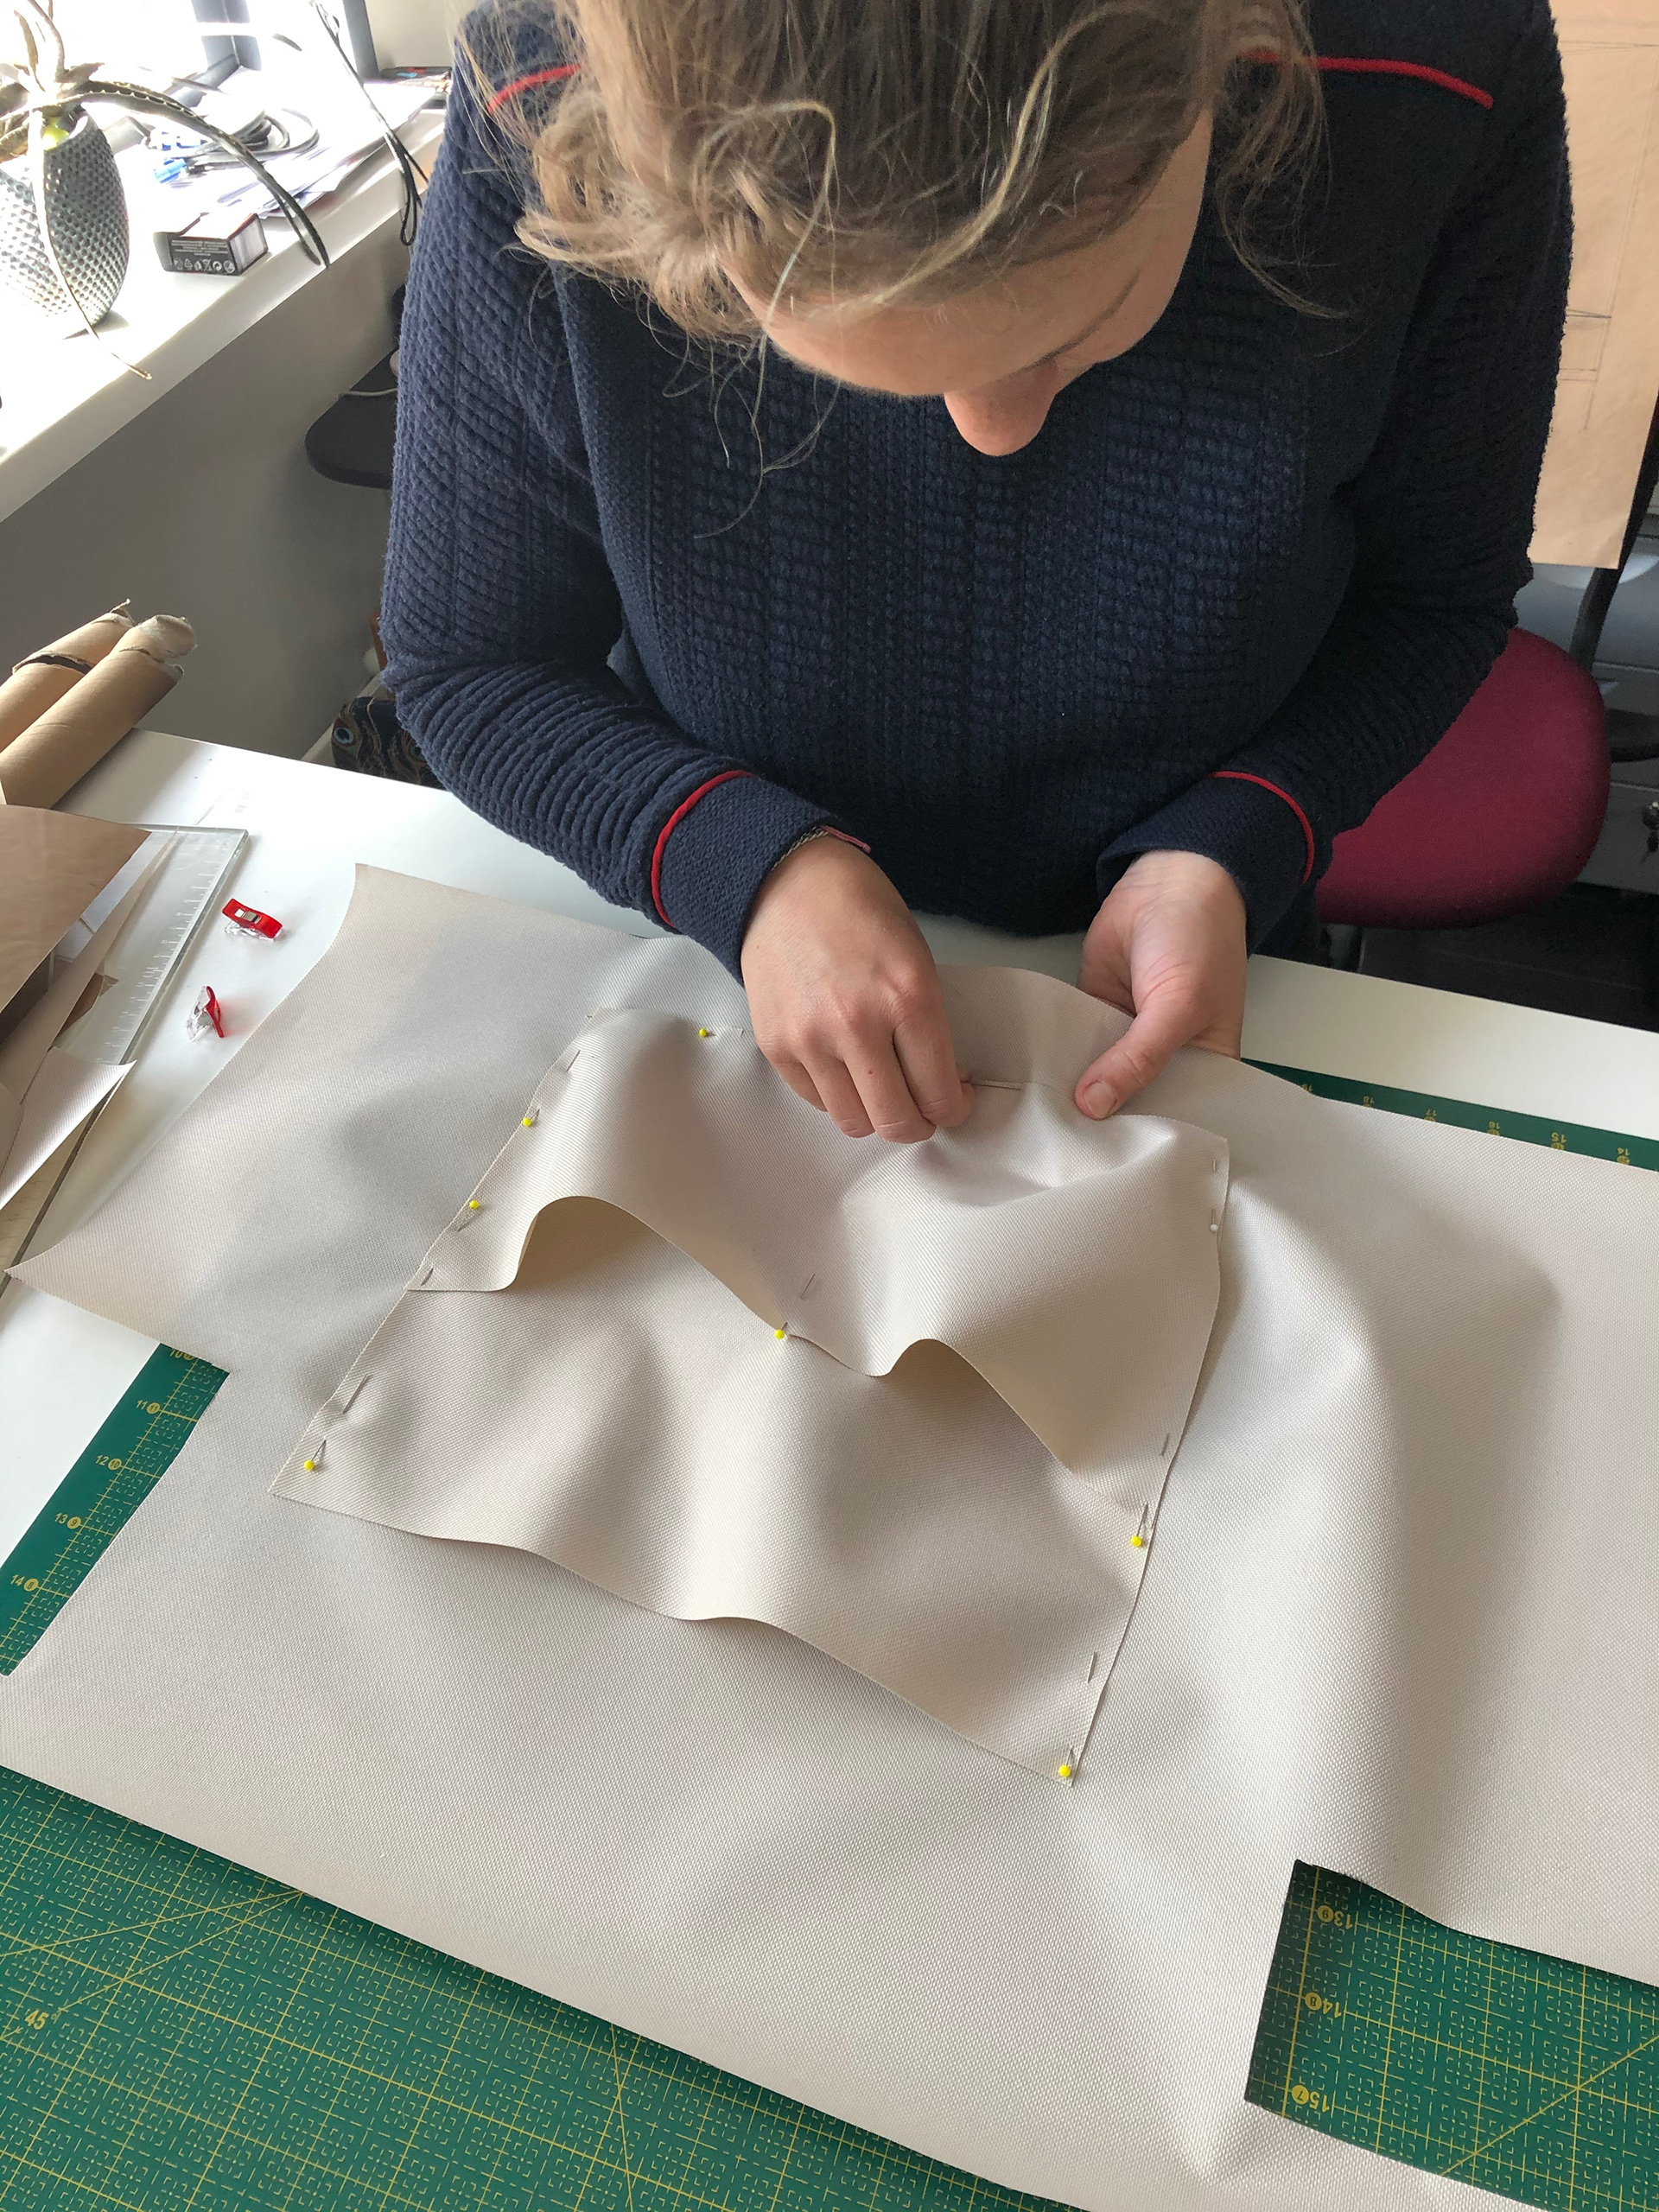
creating pockets
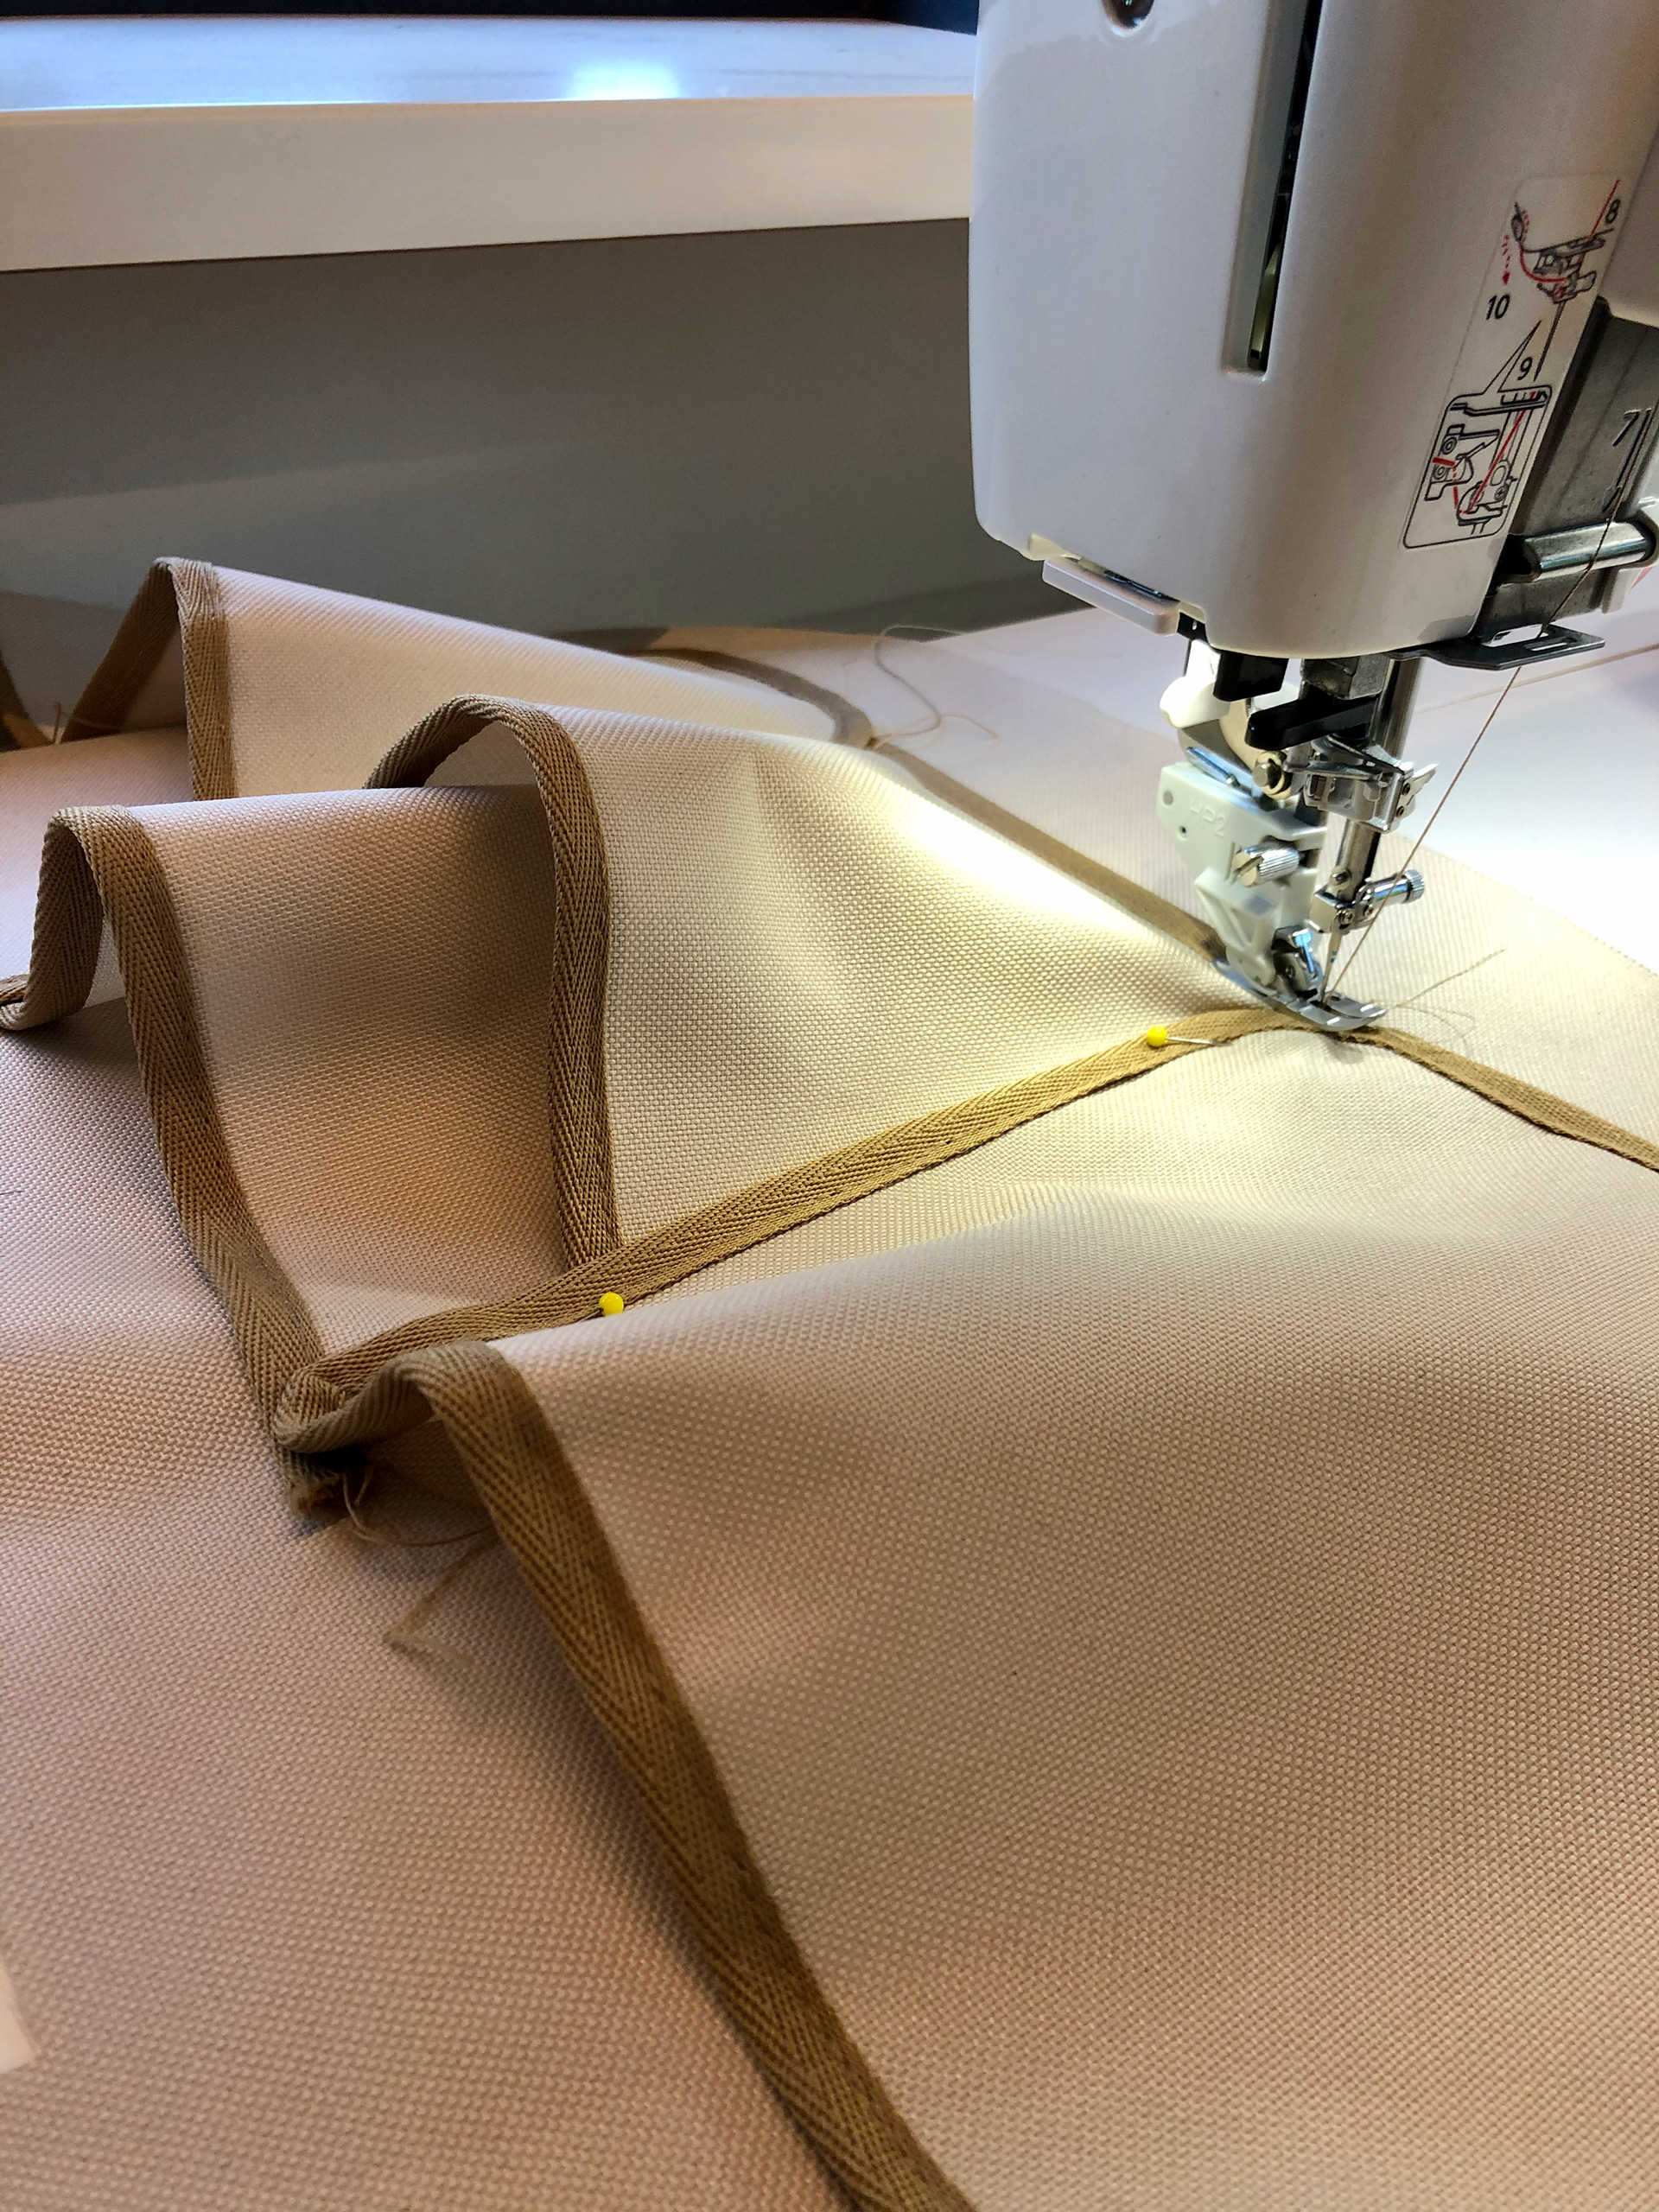
sewing everything together
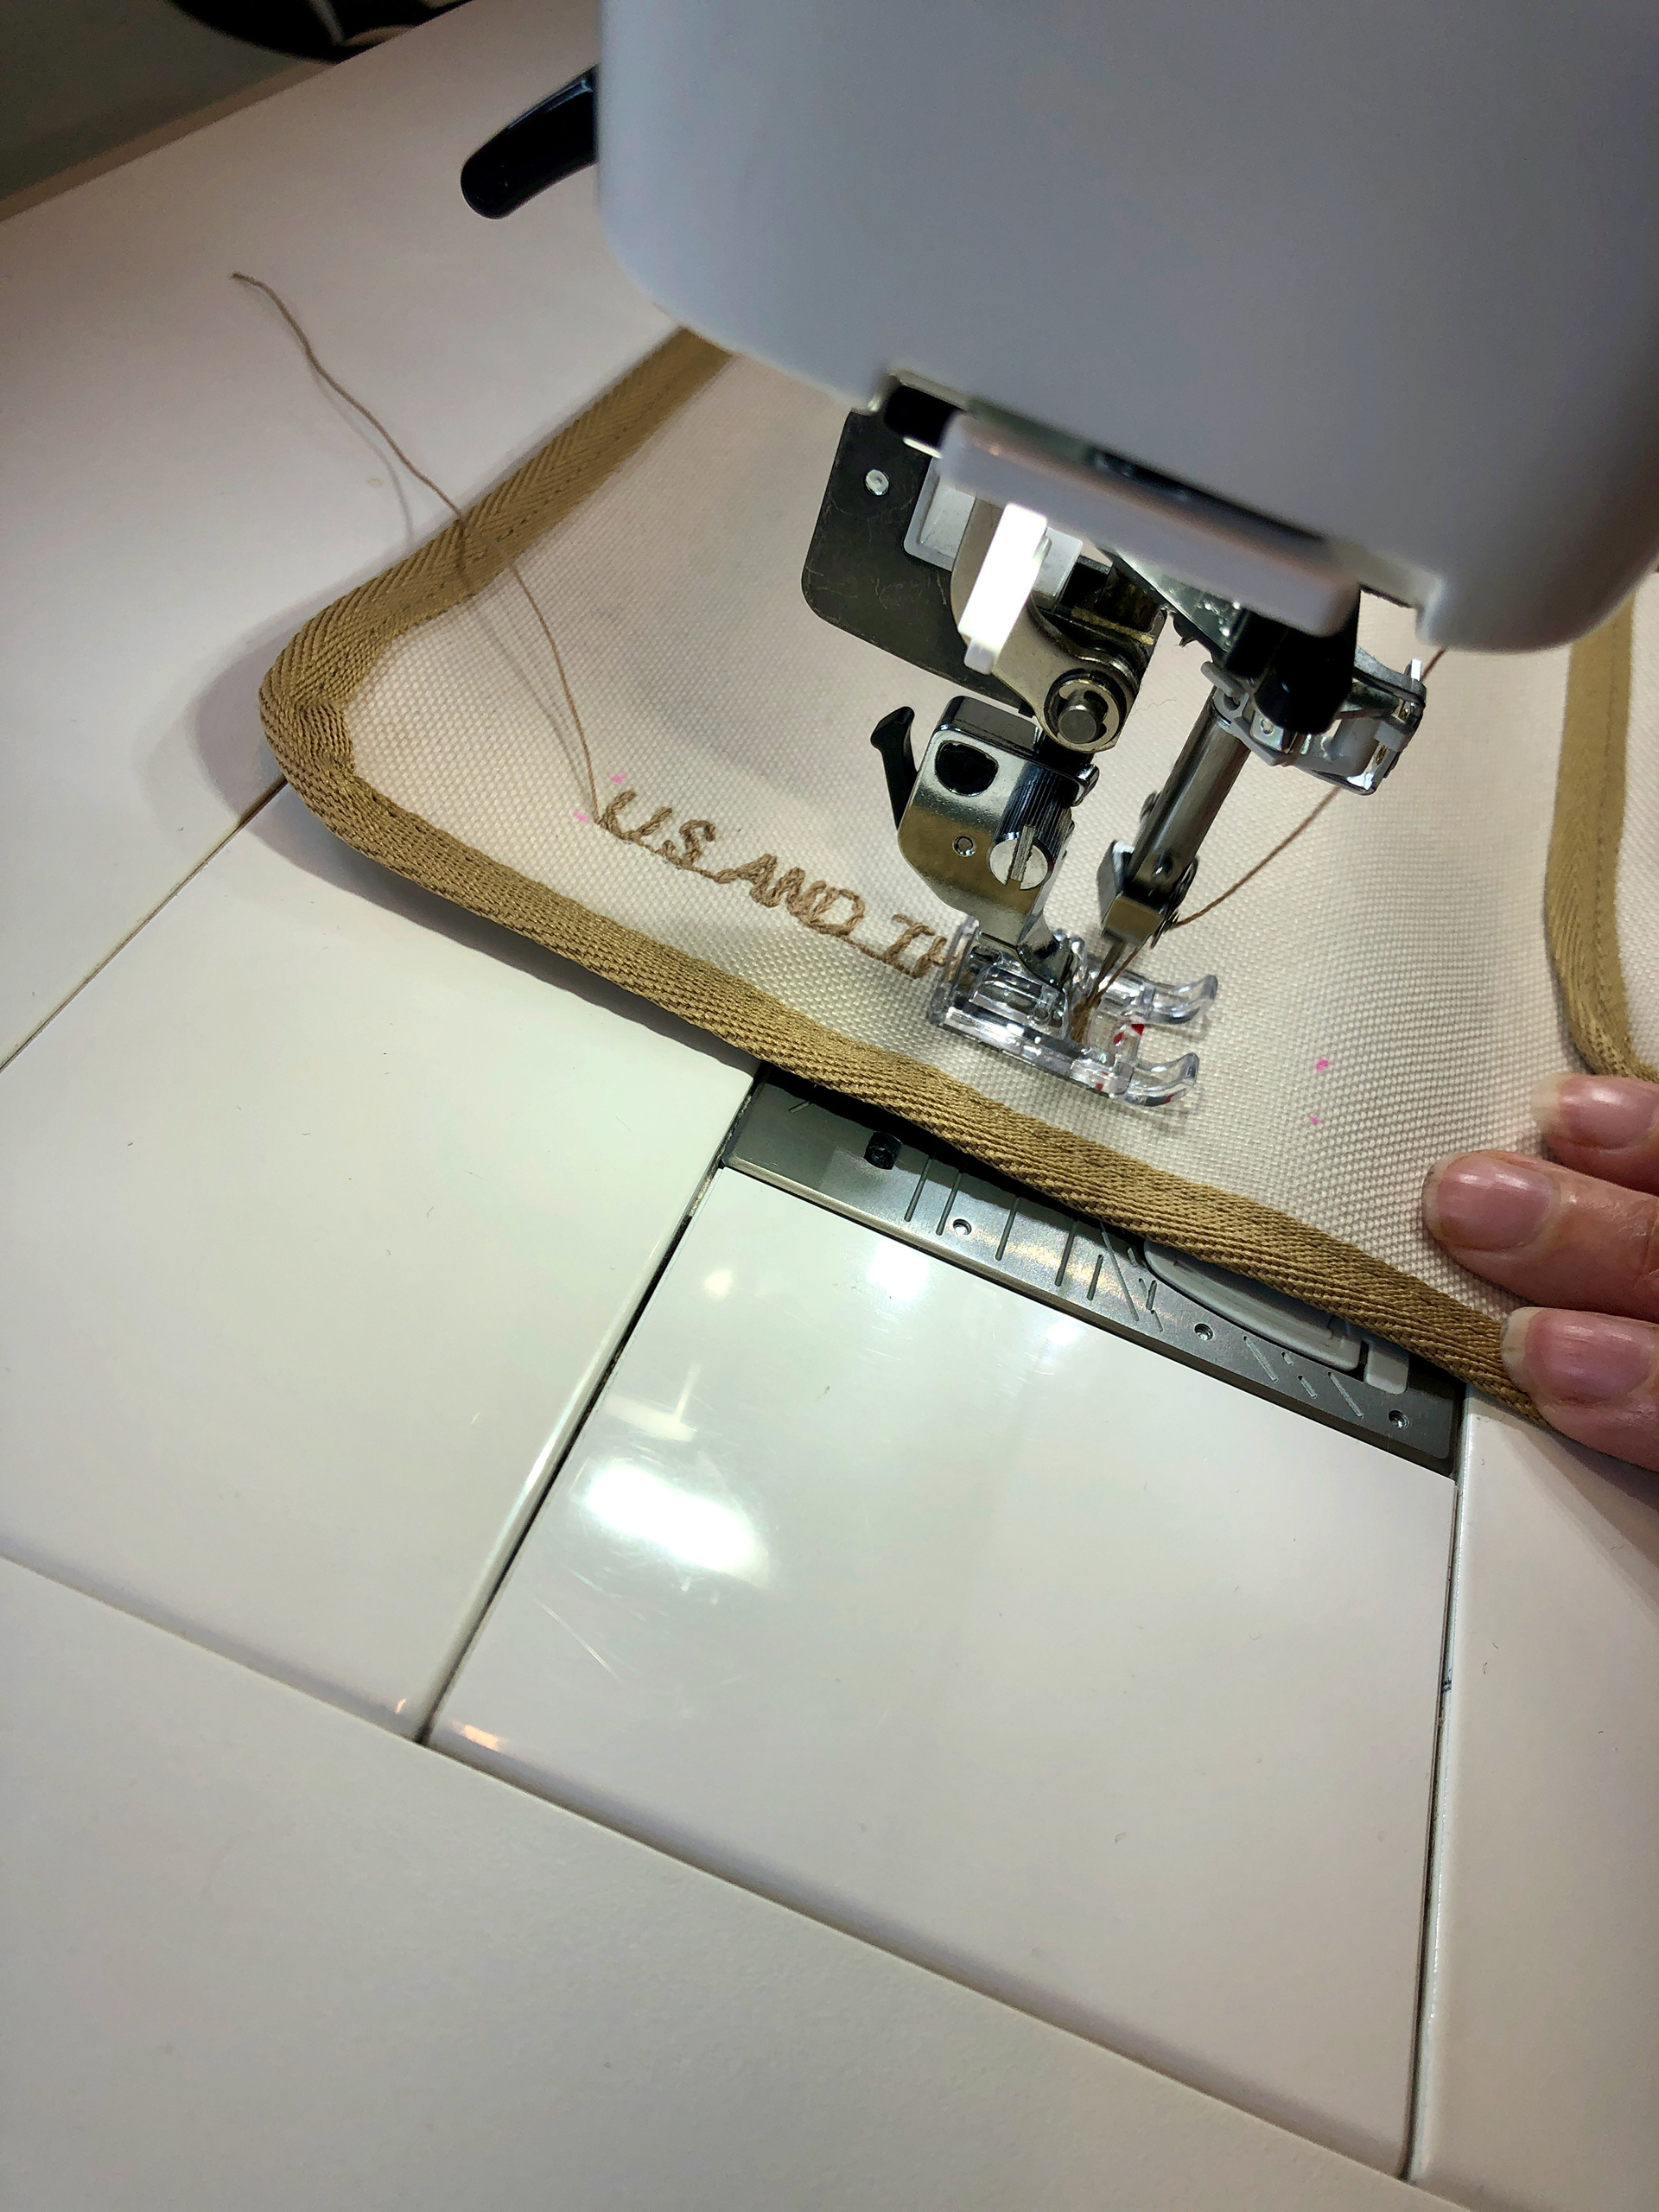
finishing touch with personalised `Us and the landy`