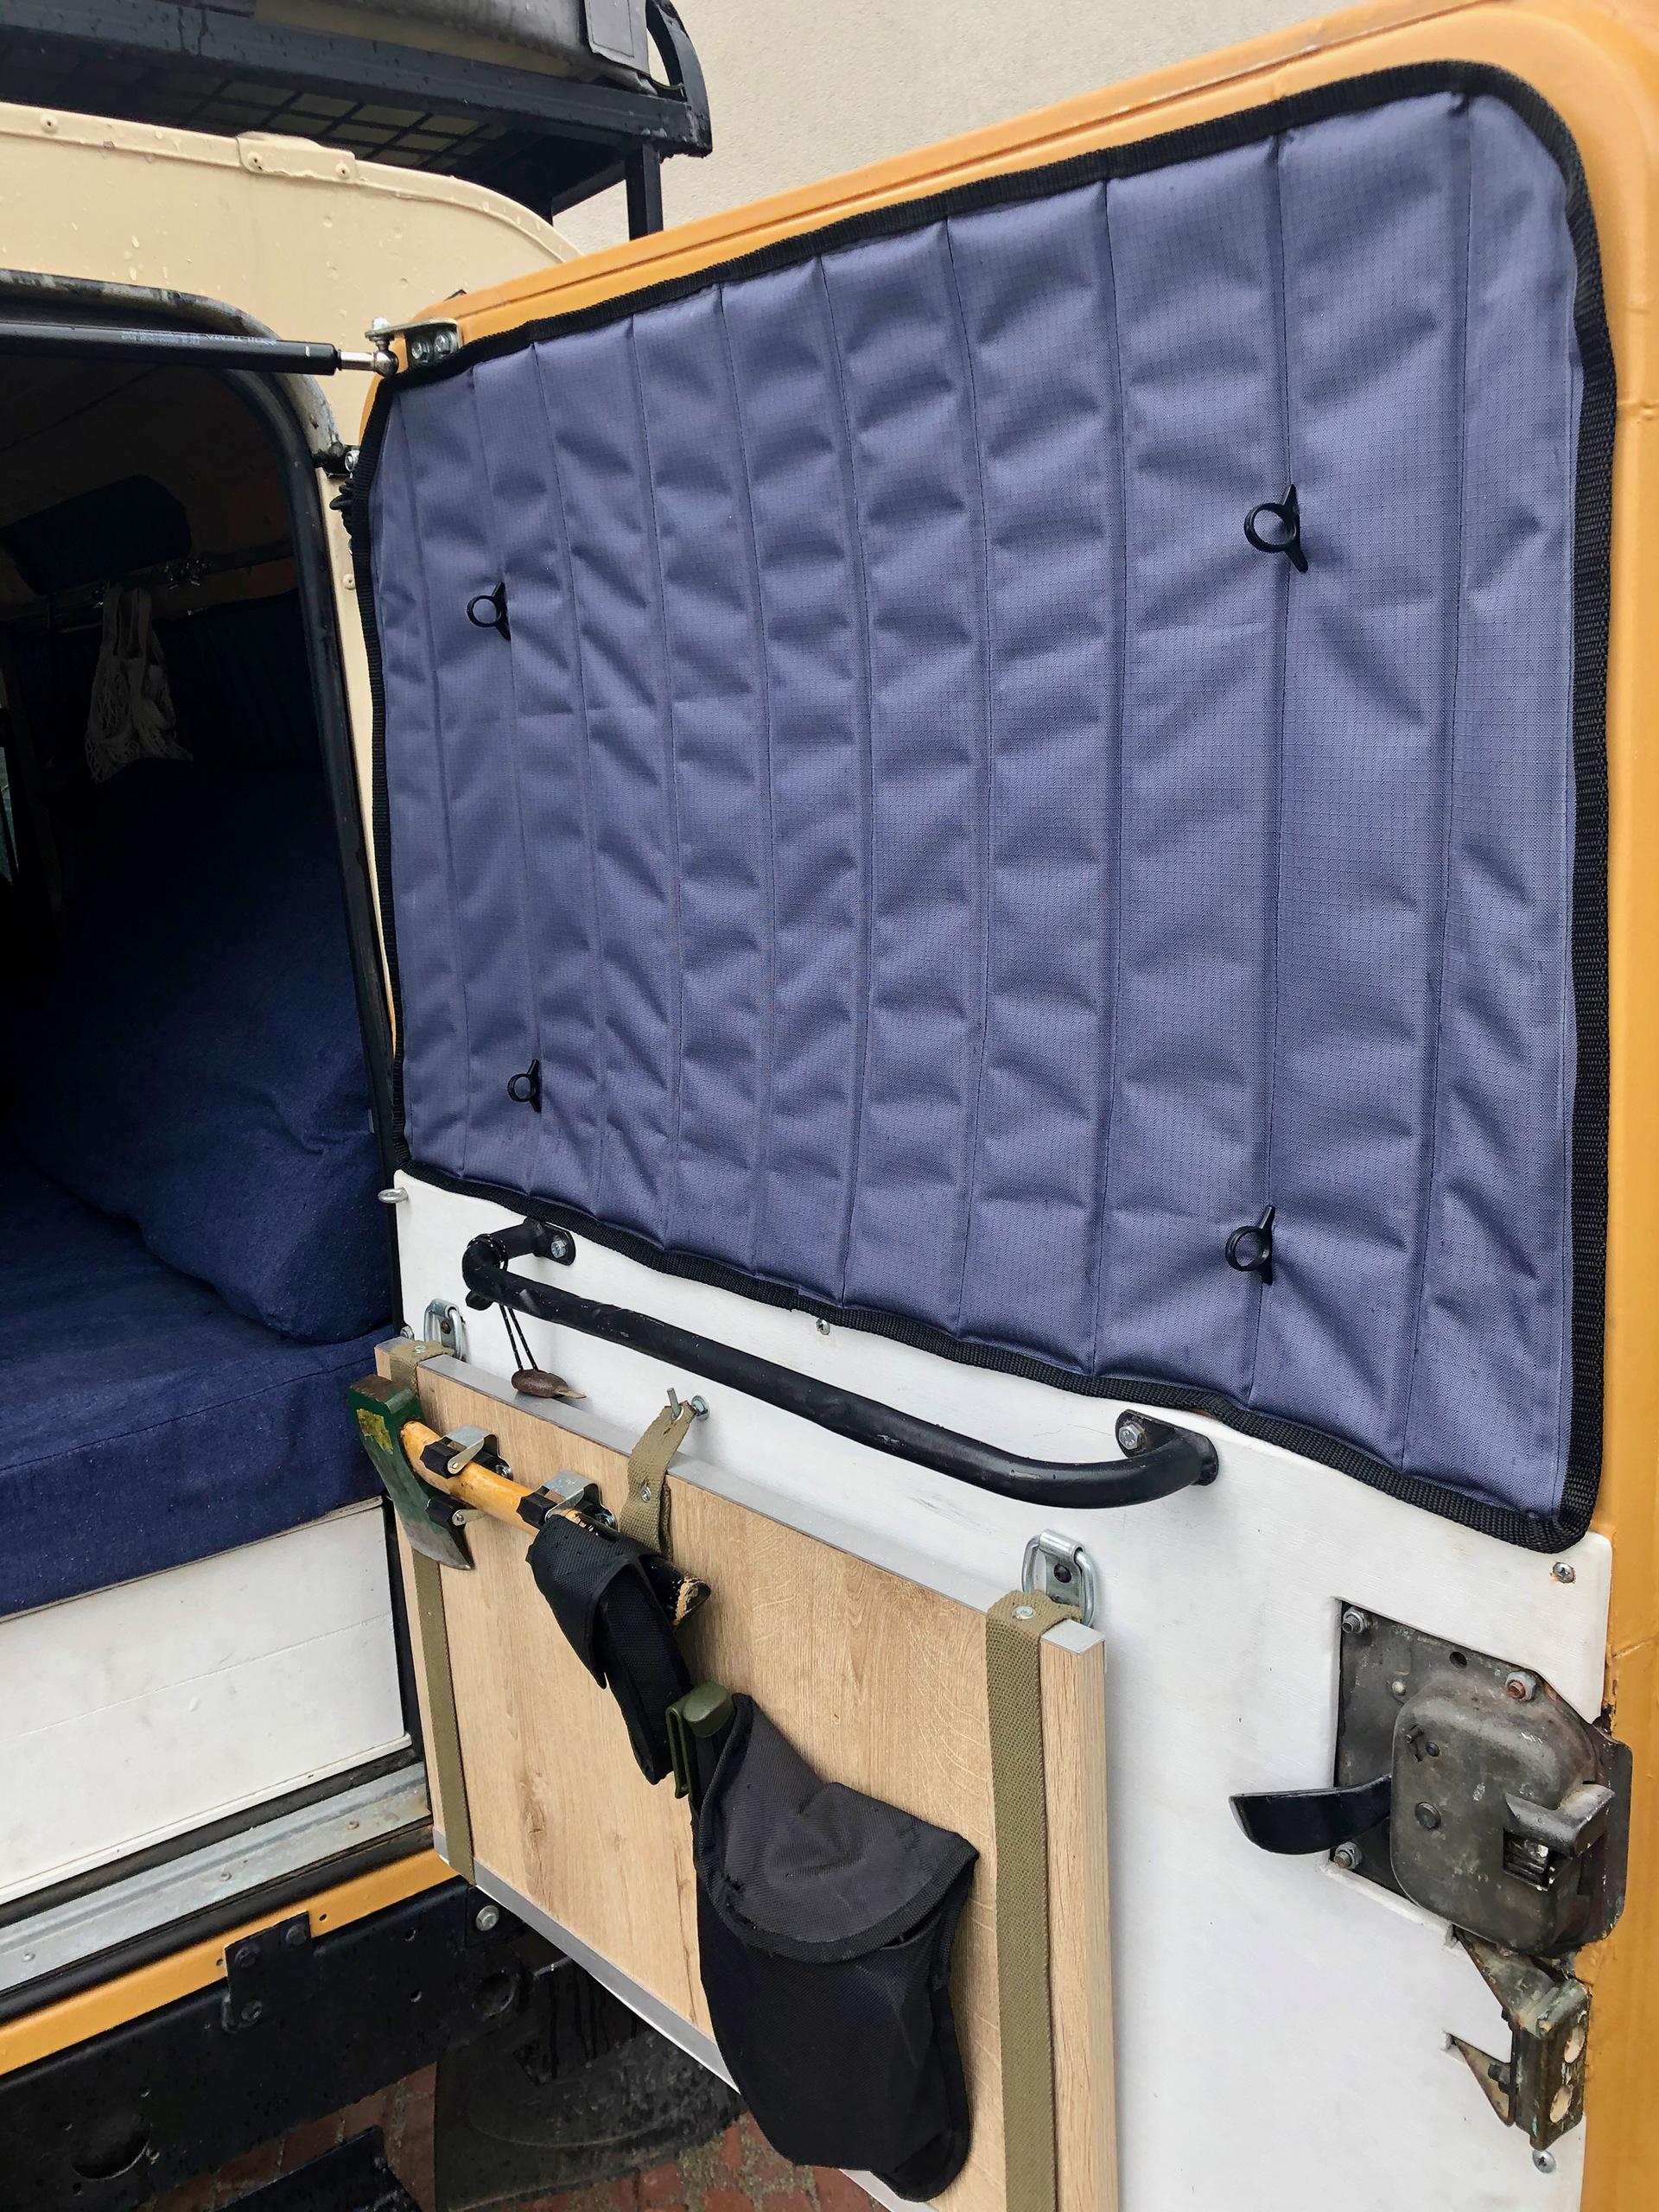
Early in the conversion process we decided that we wanted to have all the windows clear and not covered by cabinets or anything so we could enjoy the views when sitting inside. And since it is a very small space in the back it really helps to feel a little less cramped when you're in there.
Since most of our attention went to more important aspects of the build, we only really started thinking about window insulation when we were almost finished and our heads were already in full travel mode. Online we could find nice looking, perfectly fitting blinds for a LR Defender, but unfortunately nothing within our budget. So, for the first part of our trip we started off with a cheap and ugly DIY solution made of Reflectix. Pretty soon after we had left we realised we had definitely overlooked the importance and started to feel more and more unhappy about them. They were very annoying to handle and, when being inside, it always felt like we were in a spaceship, looking at all the shiny Reflectix.
So, for a long time we thought about how we could improve our window blinds and started looking for the best materials and ways to attach them to the windows. The blinds had to meet our four criteria; cheap, insulating, good-looking and had to blackout light completely.
We got rid of the old ones and started from scratch. We chose a high-quality polyester, Cordura® ripstop fabric with an acrylic coating, especially made for outdoor purposes. It is extremely durable and is water and dirt repellant. For the outside-facing fabric of our blinds we chose a black color for a discrete look and for the inside grey so it wouldn't look too dark.
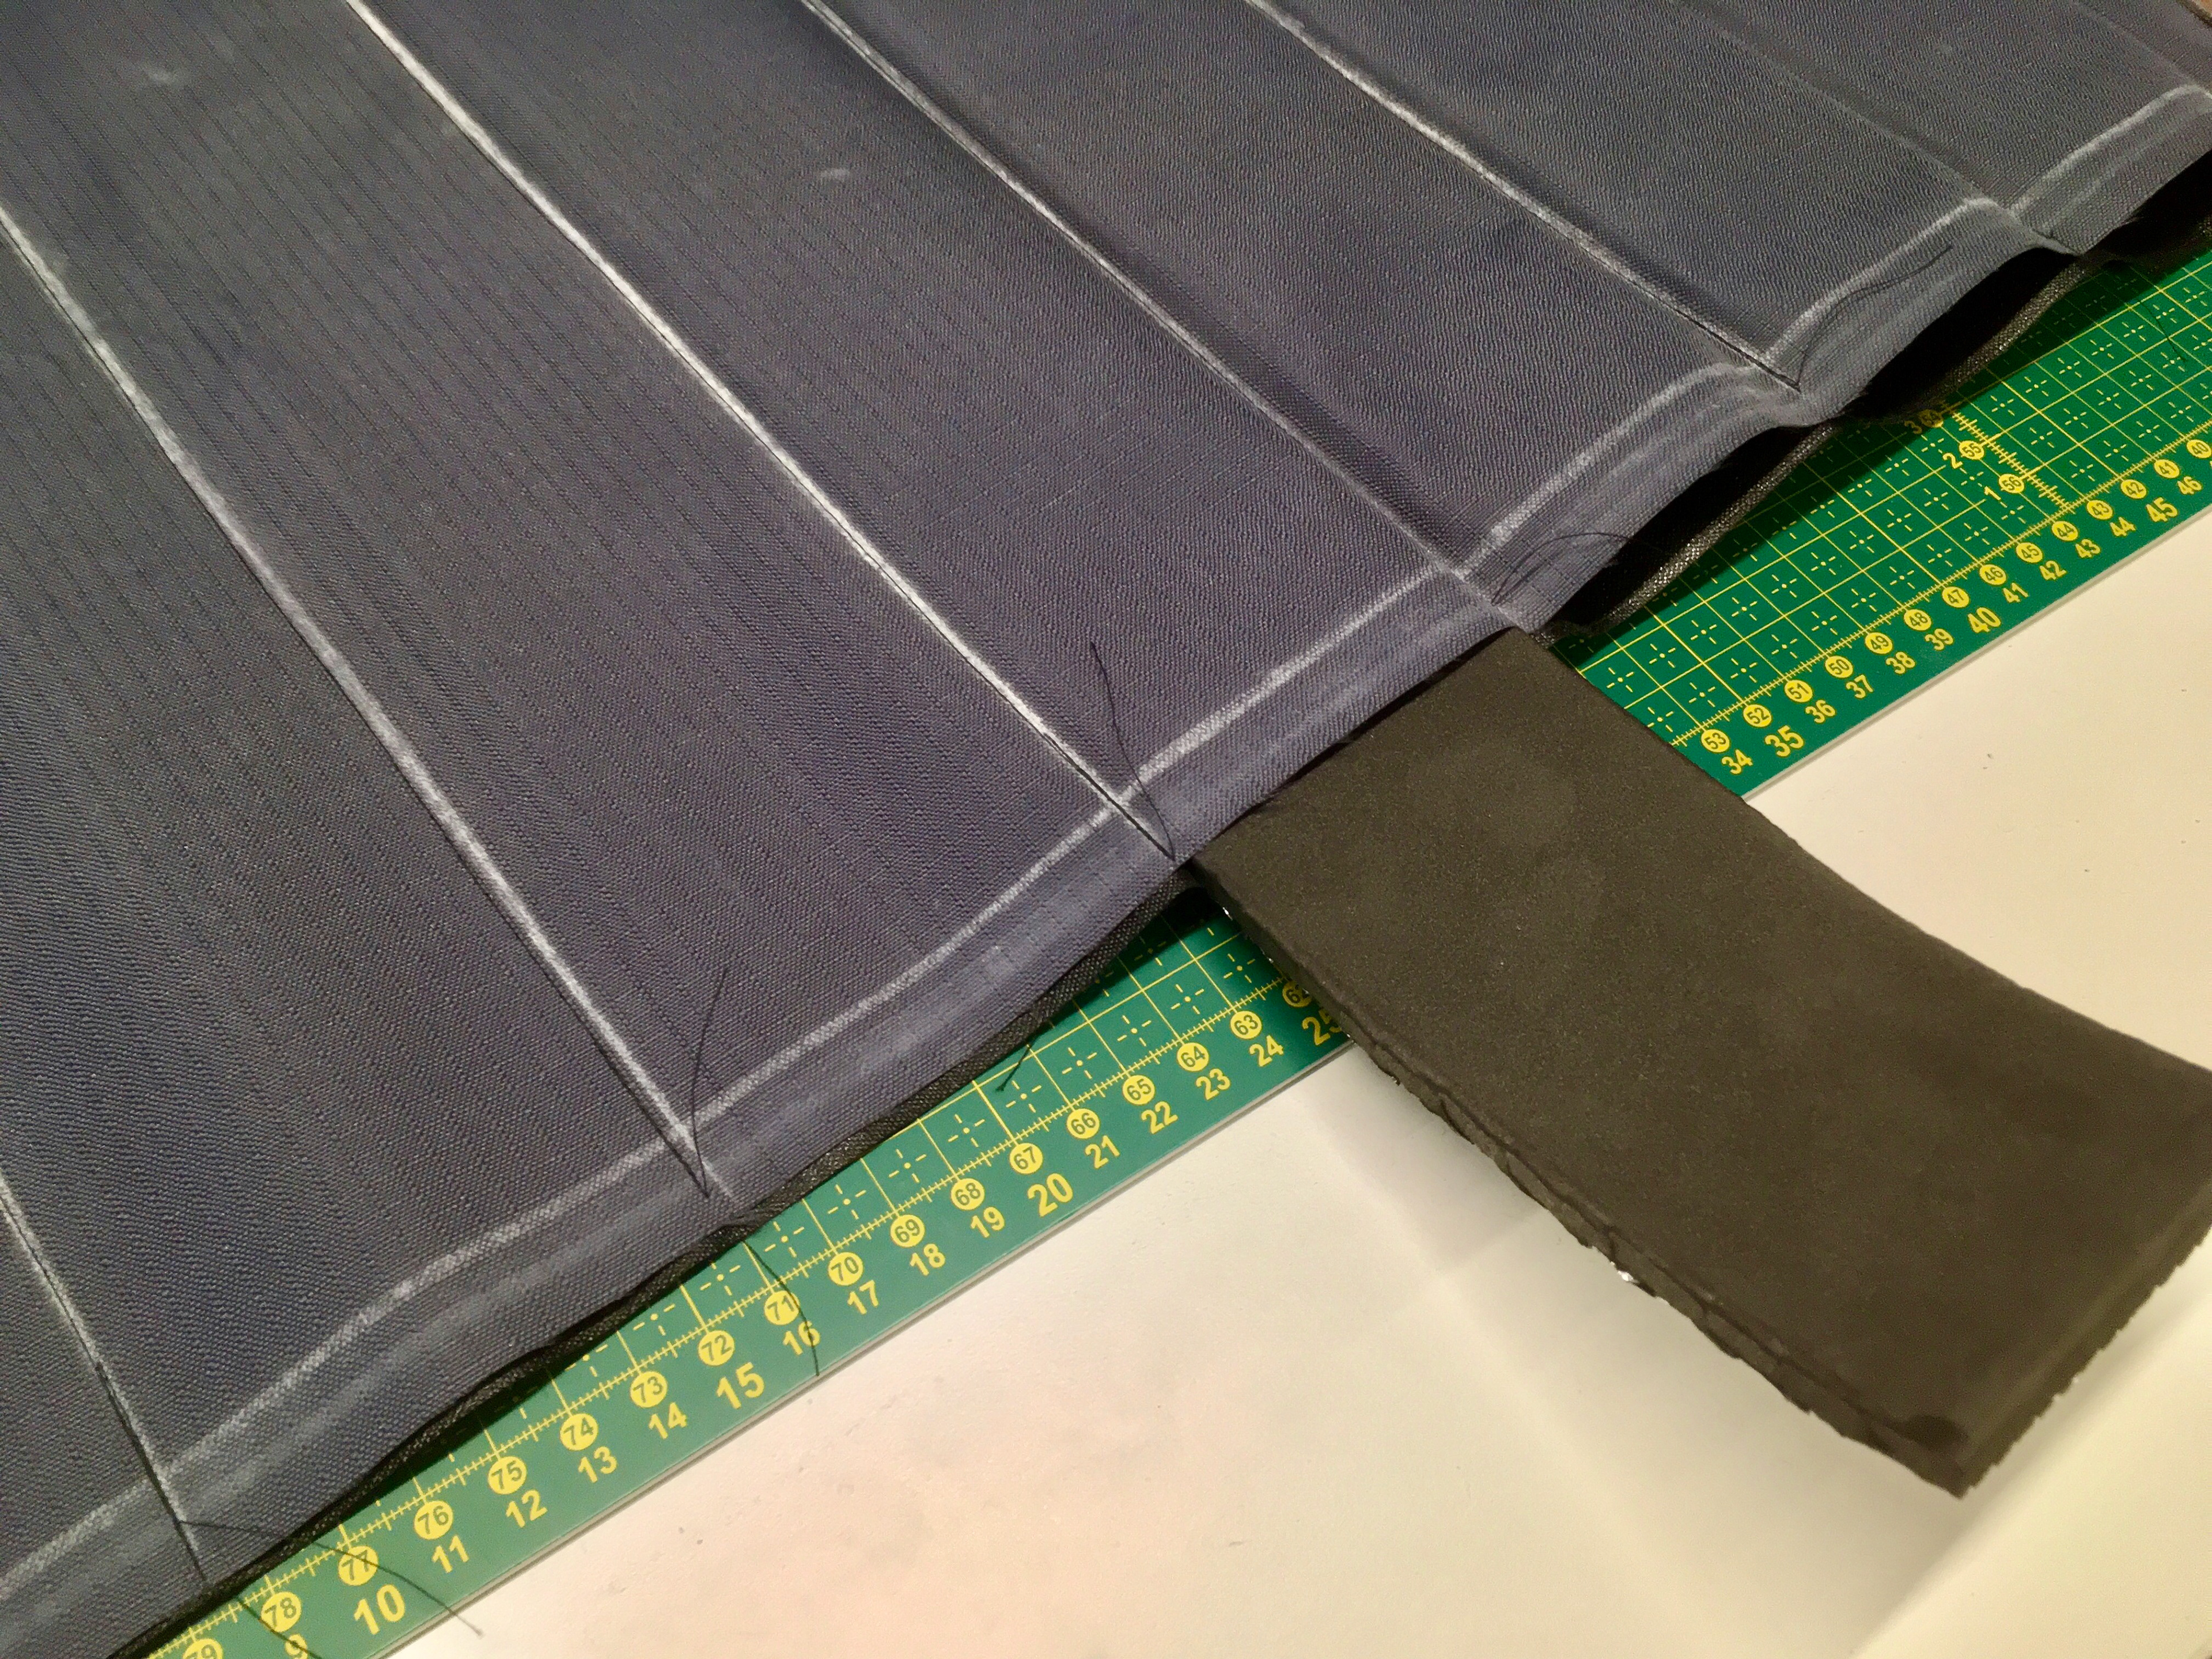
To make the blinds insulated, we used insulating camping mats made of foam and with an aluminium coating on one side. We cut them into pieces to fit the vertical pockets created in our blinds, this allows for easy folding and storing.
How we did it
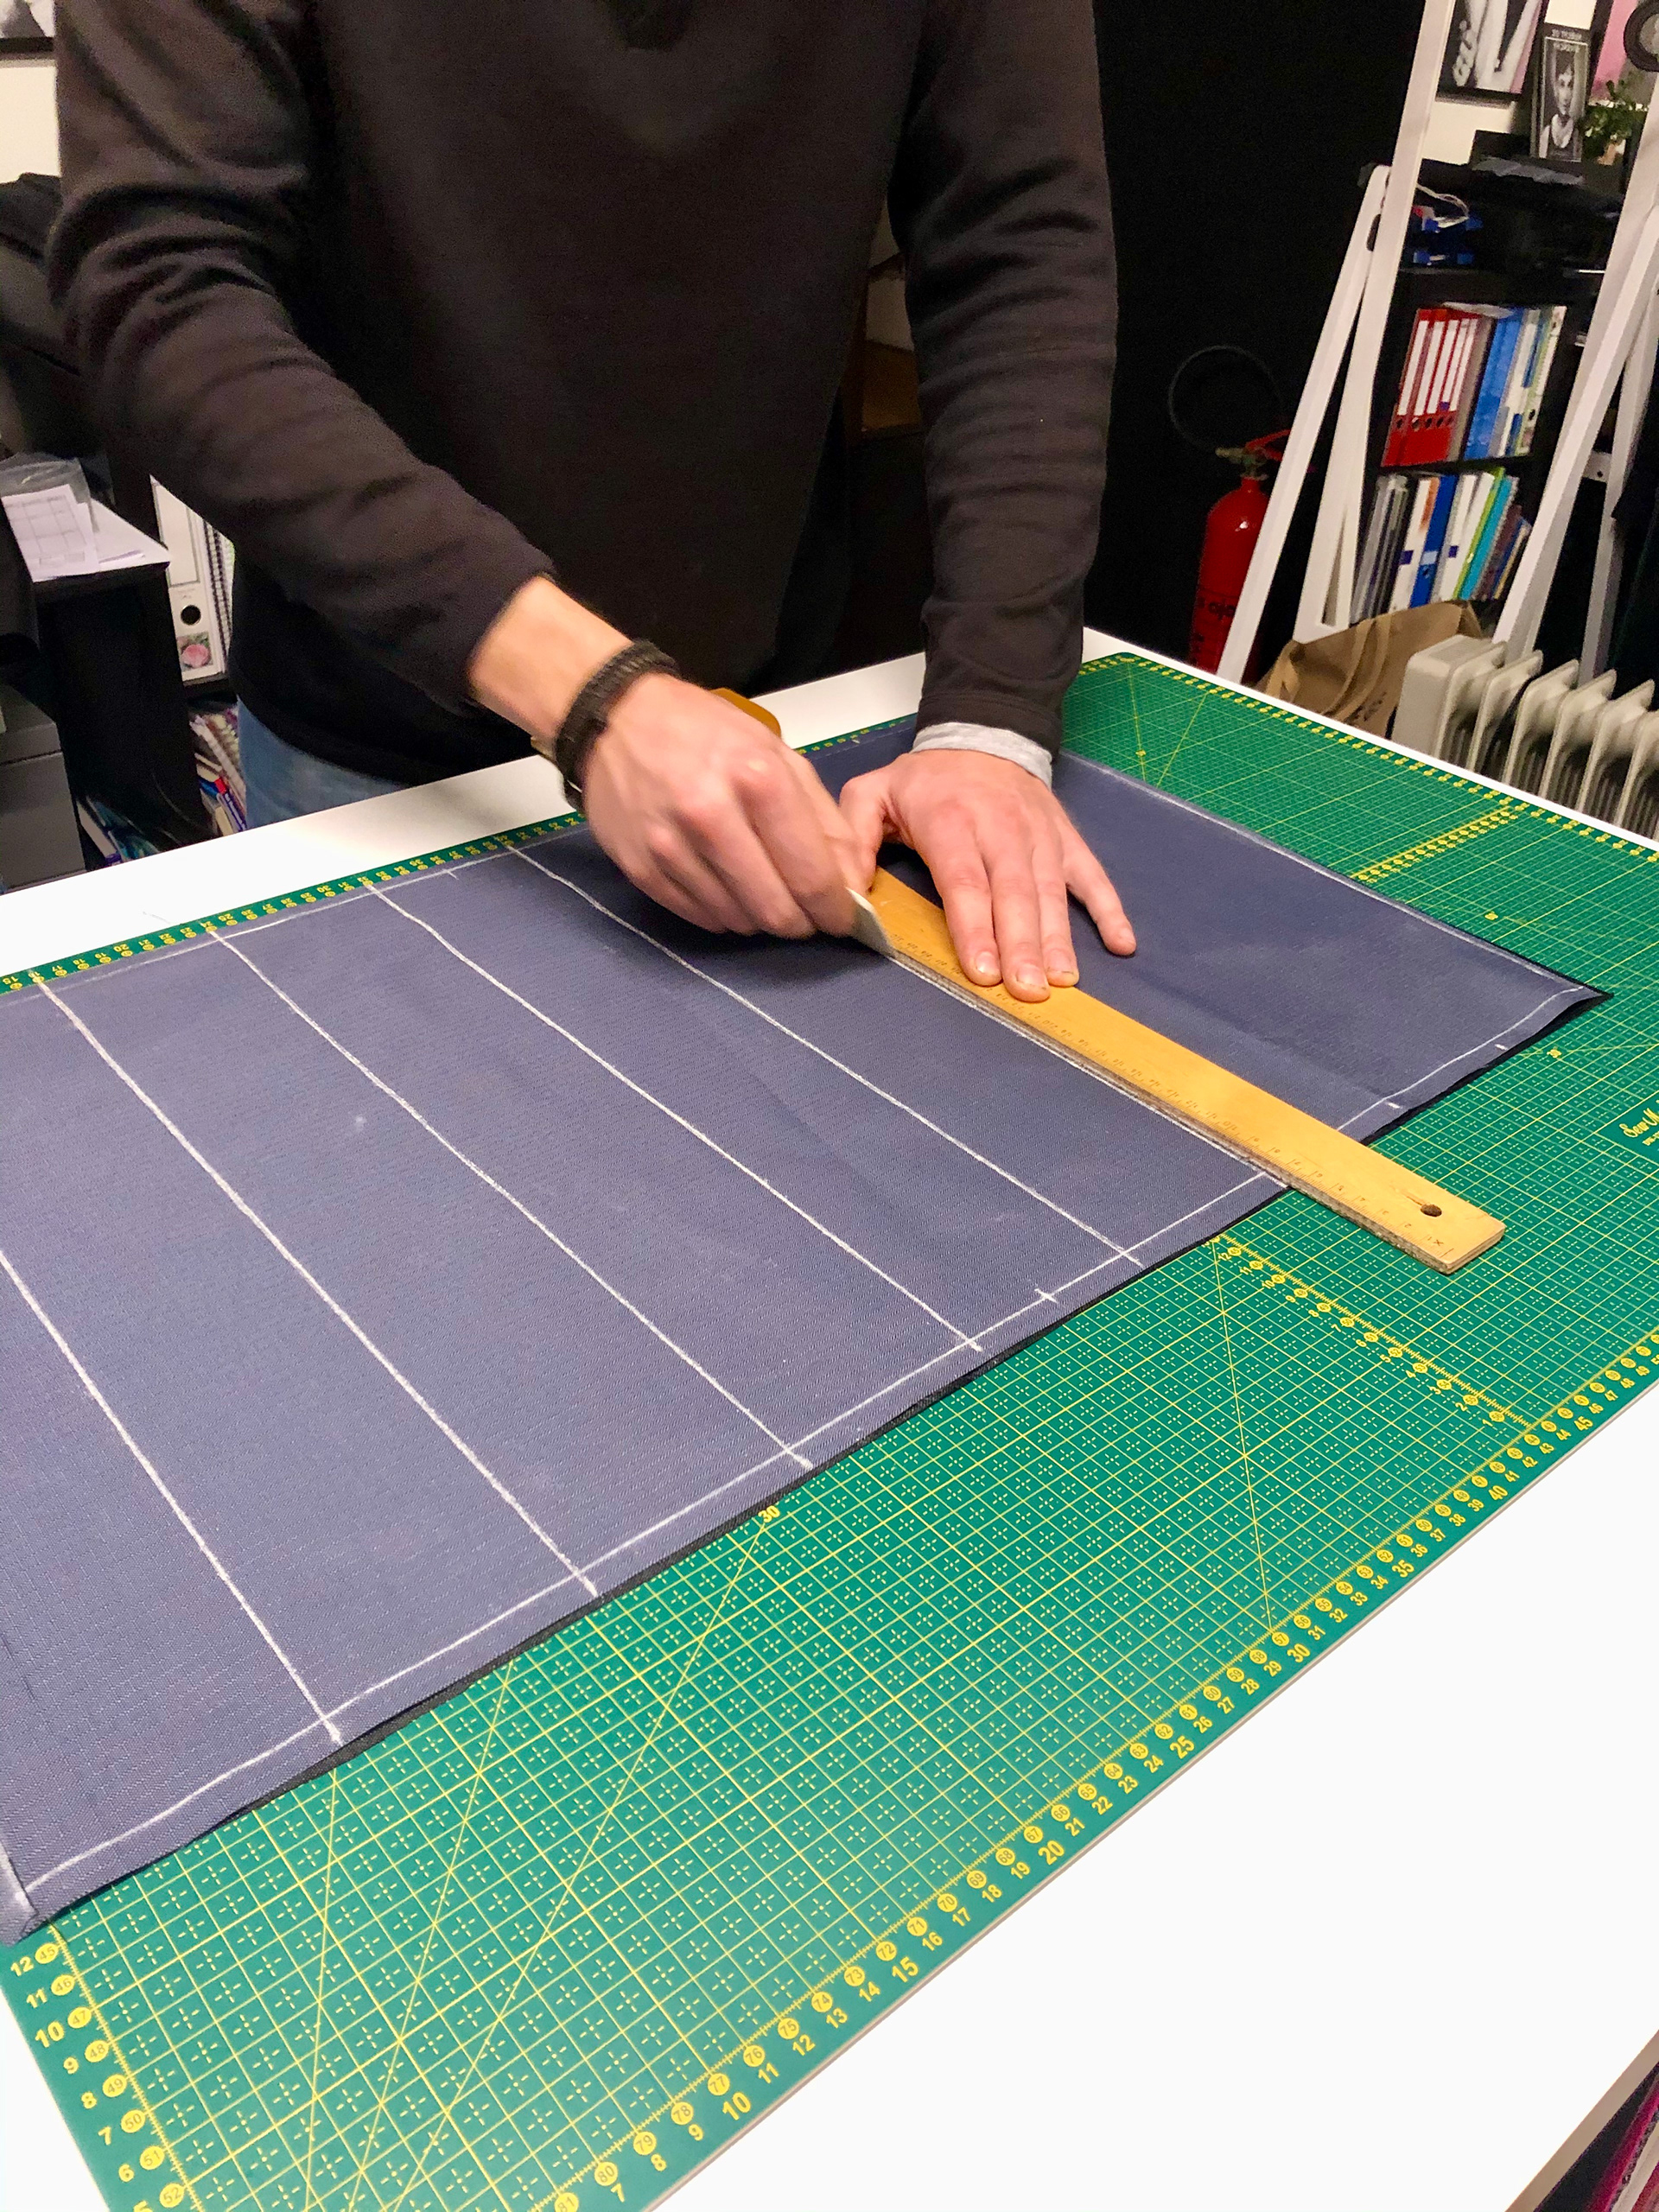
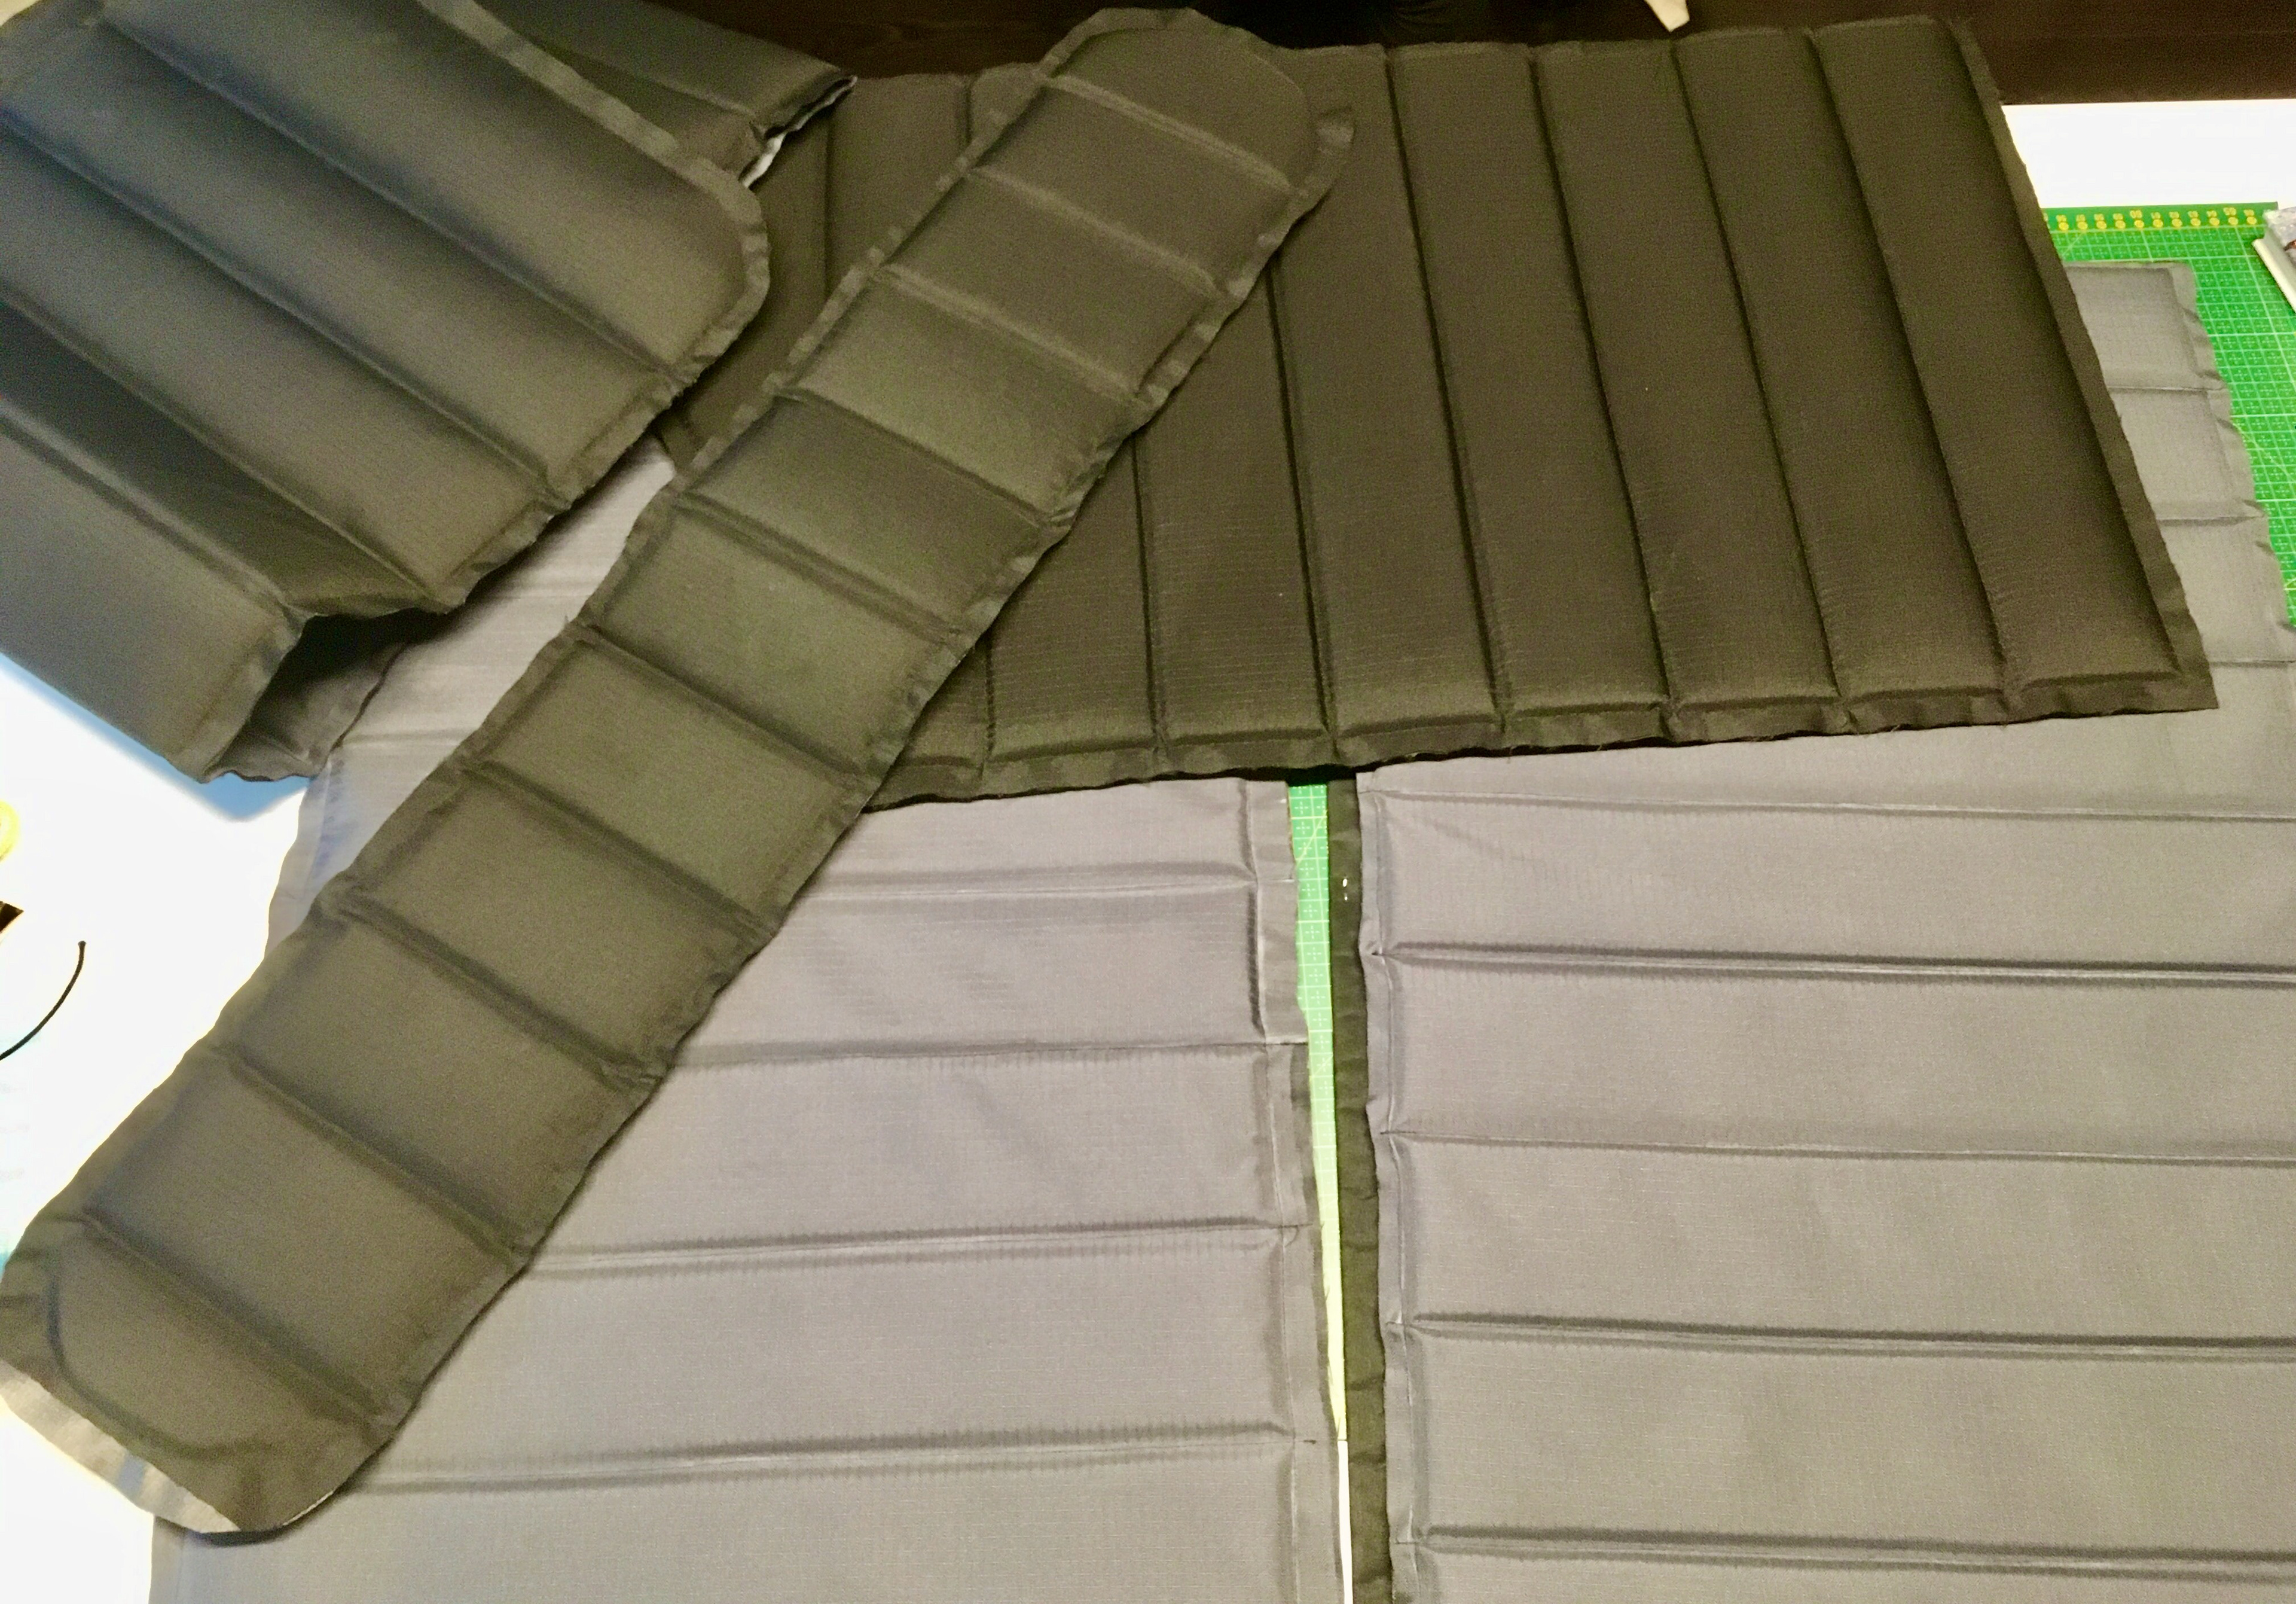
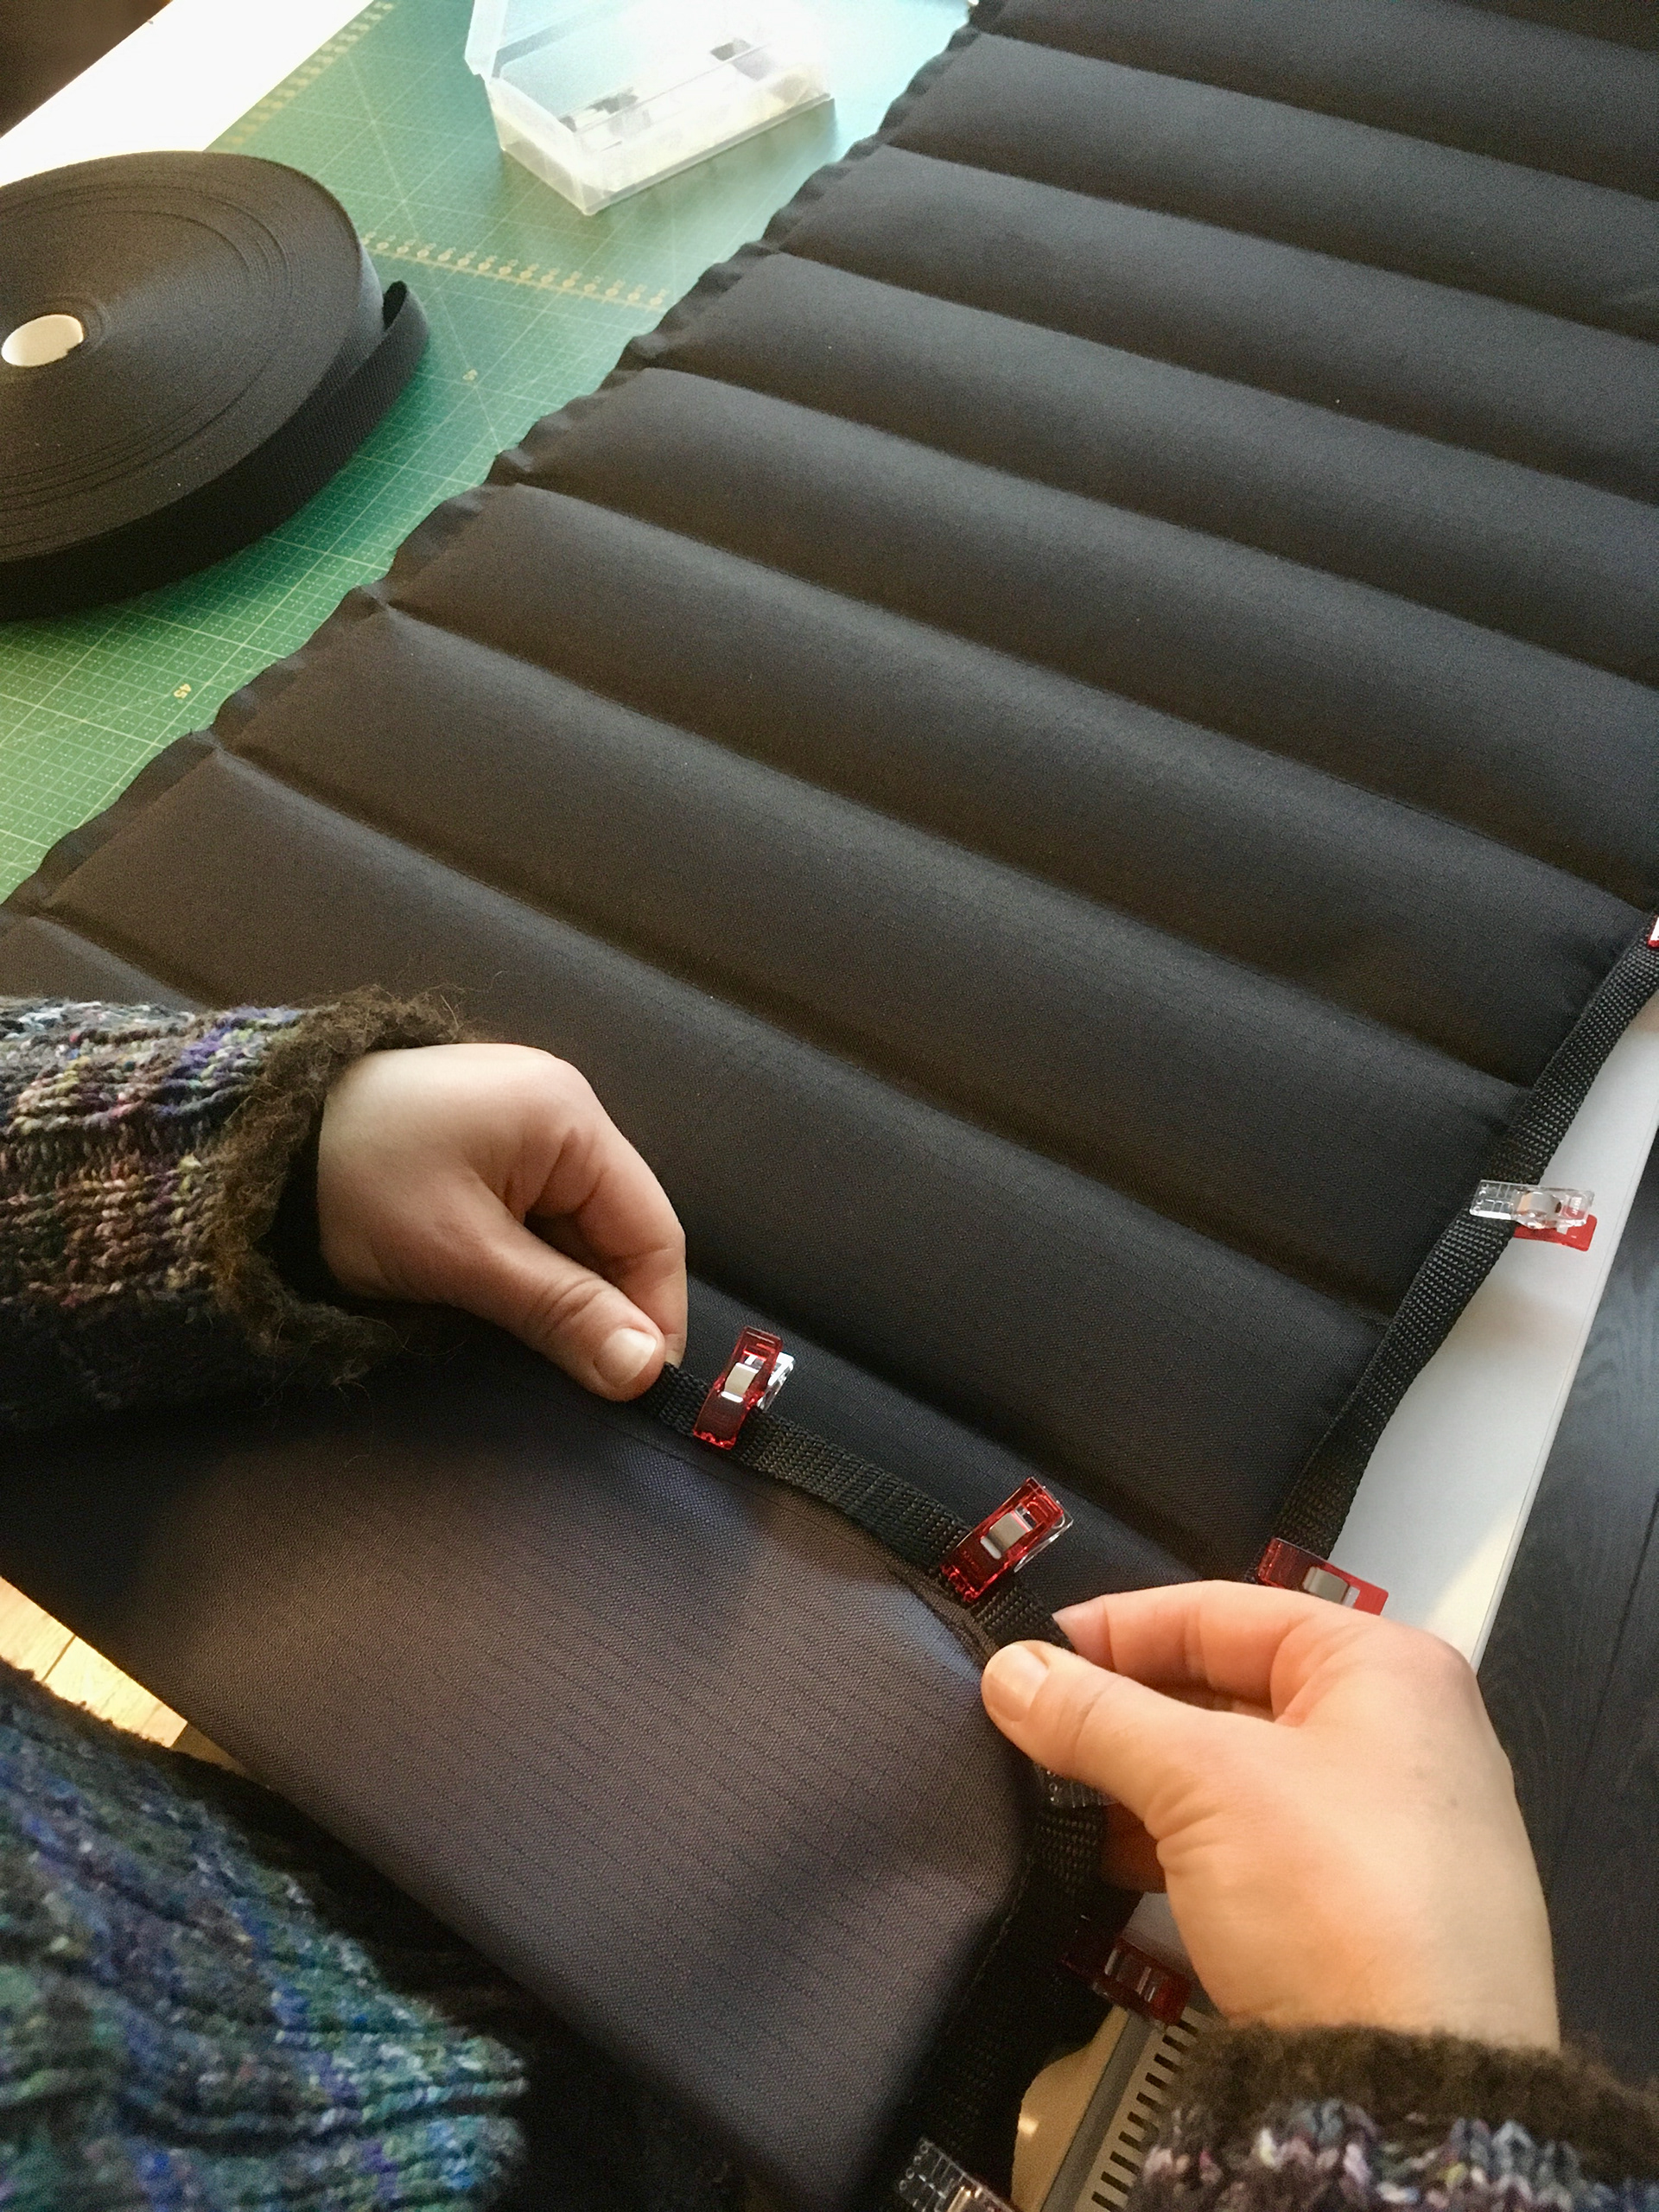
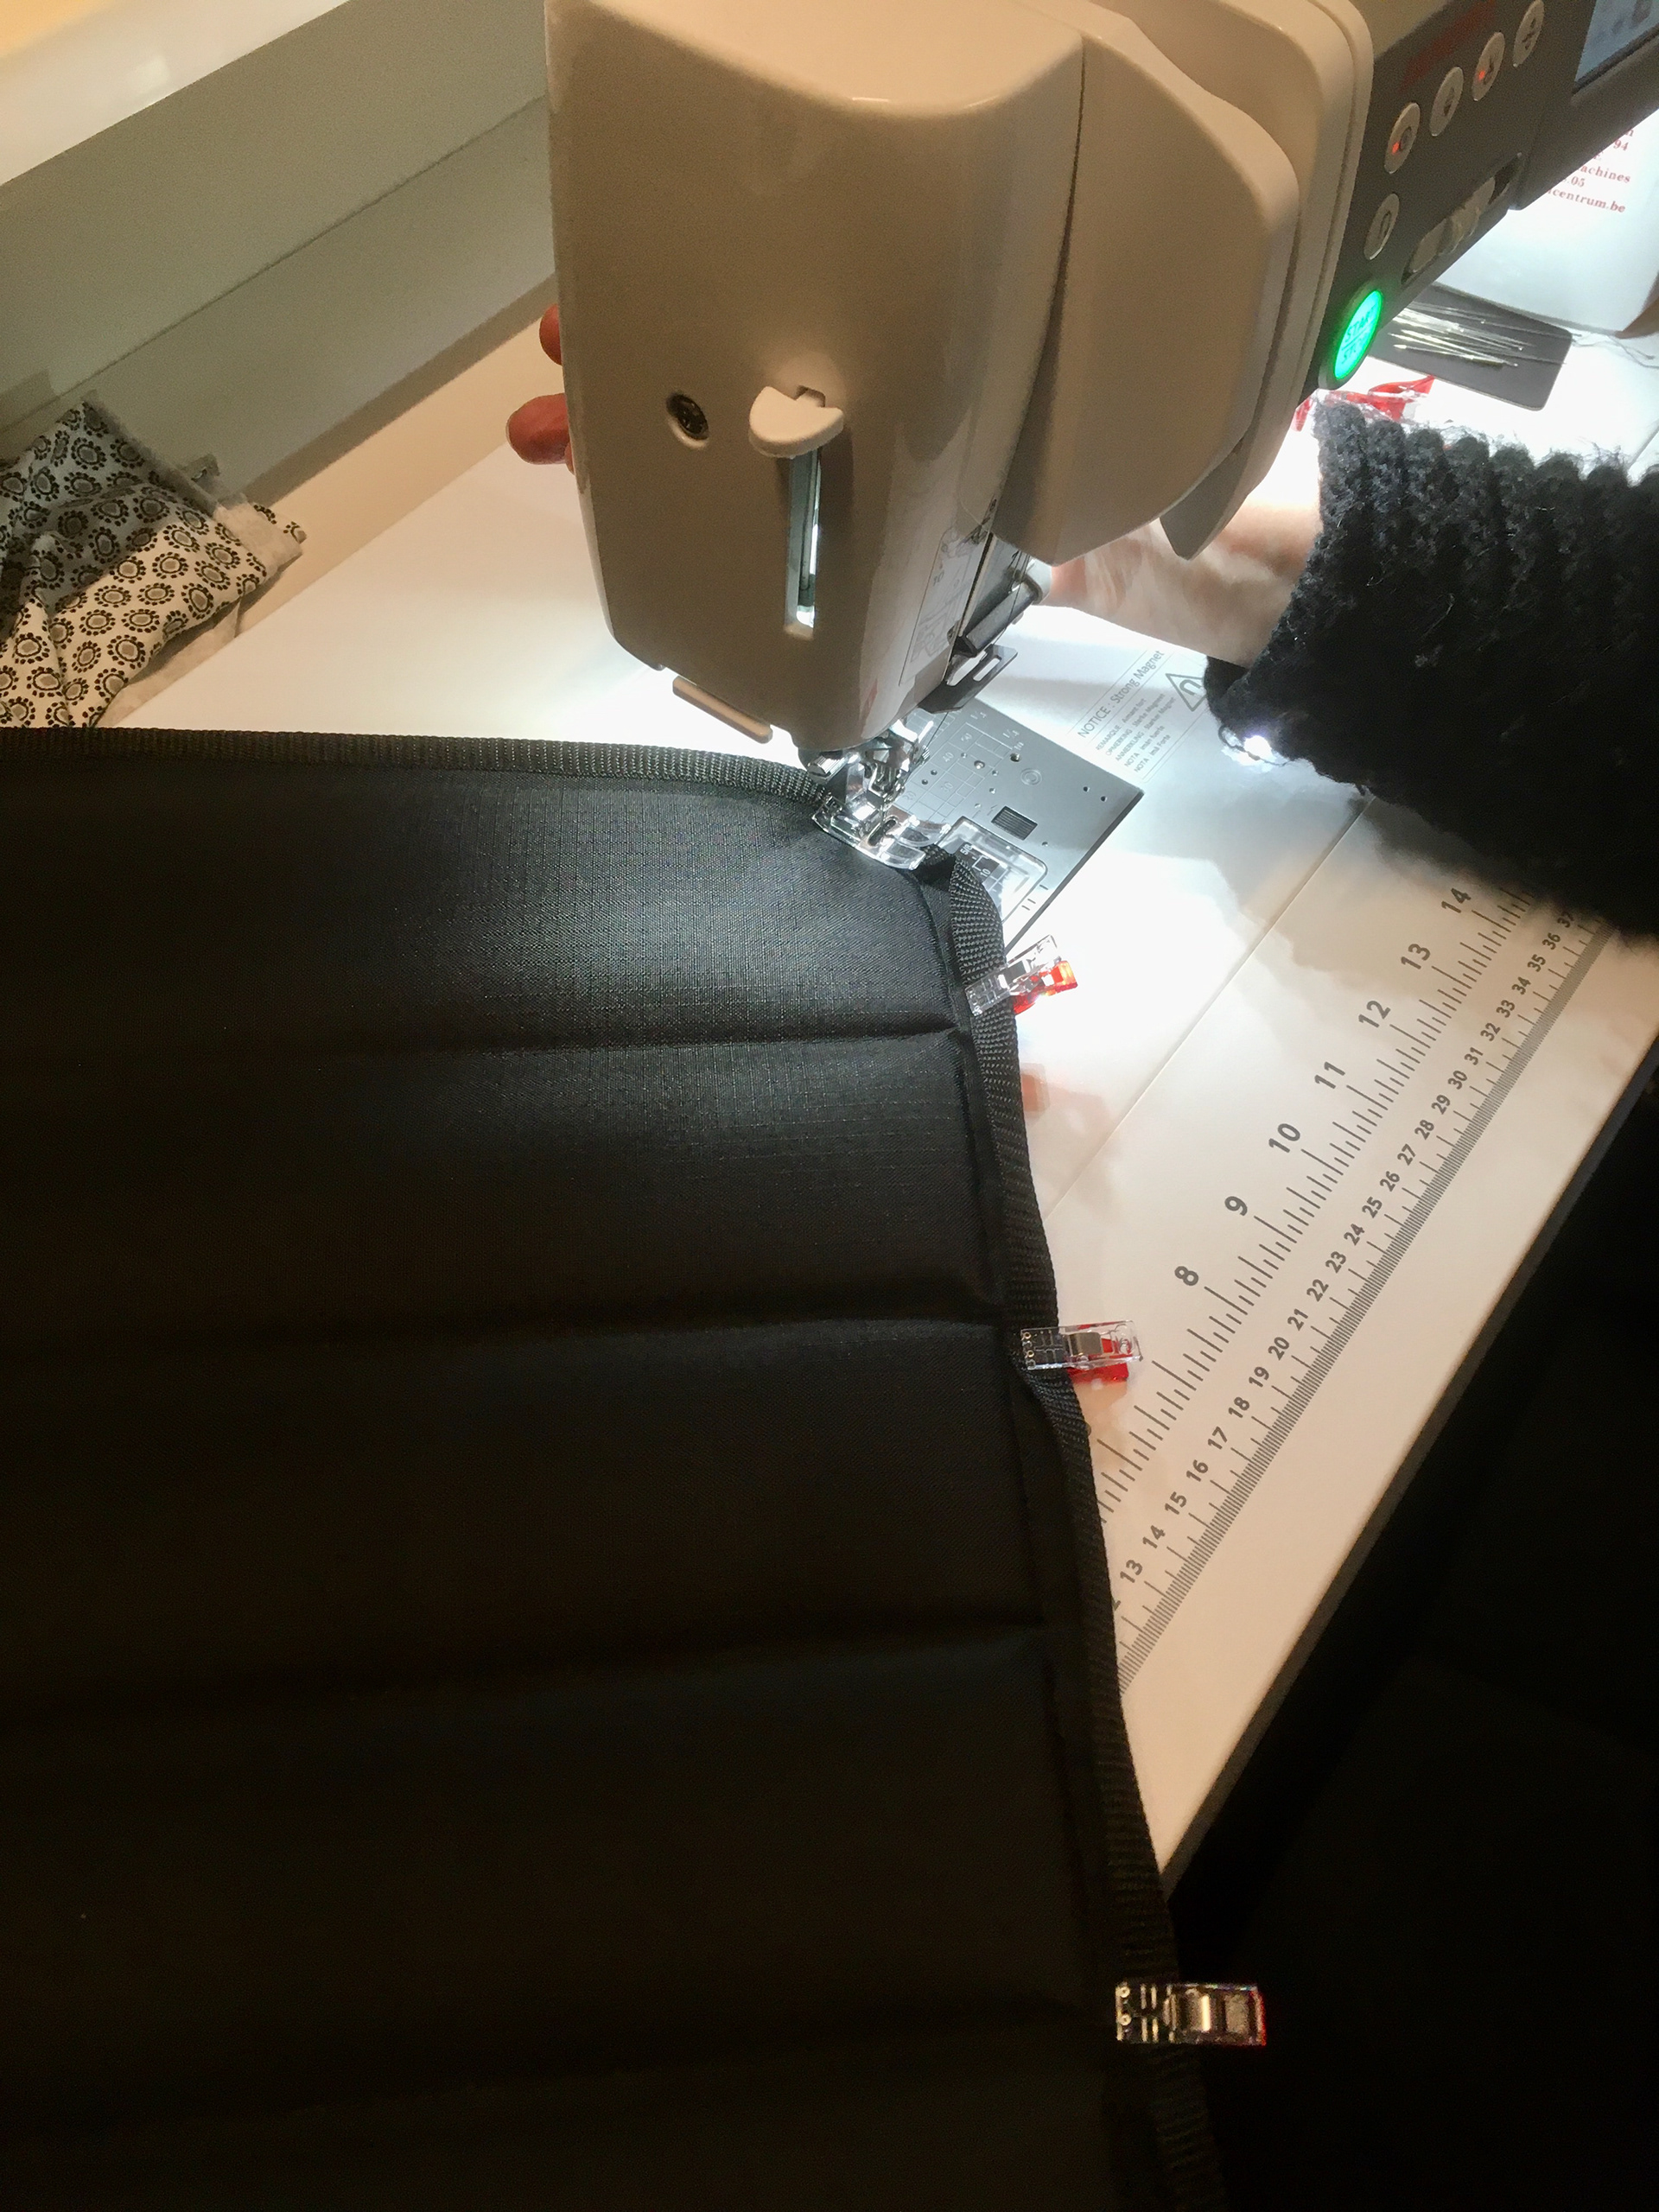
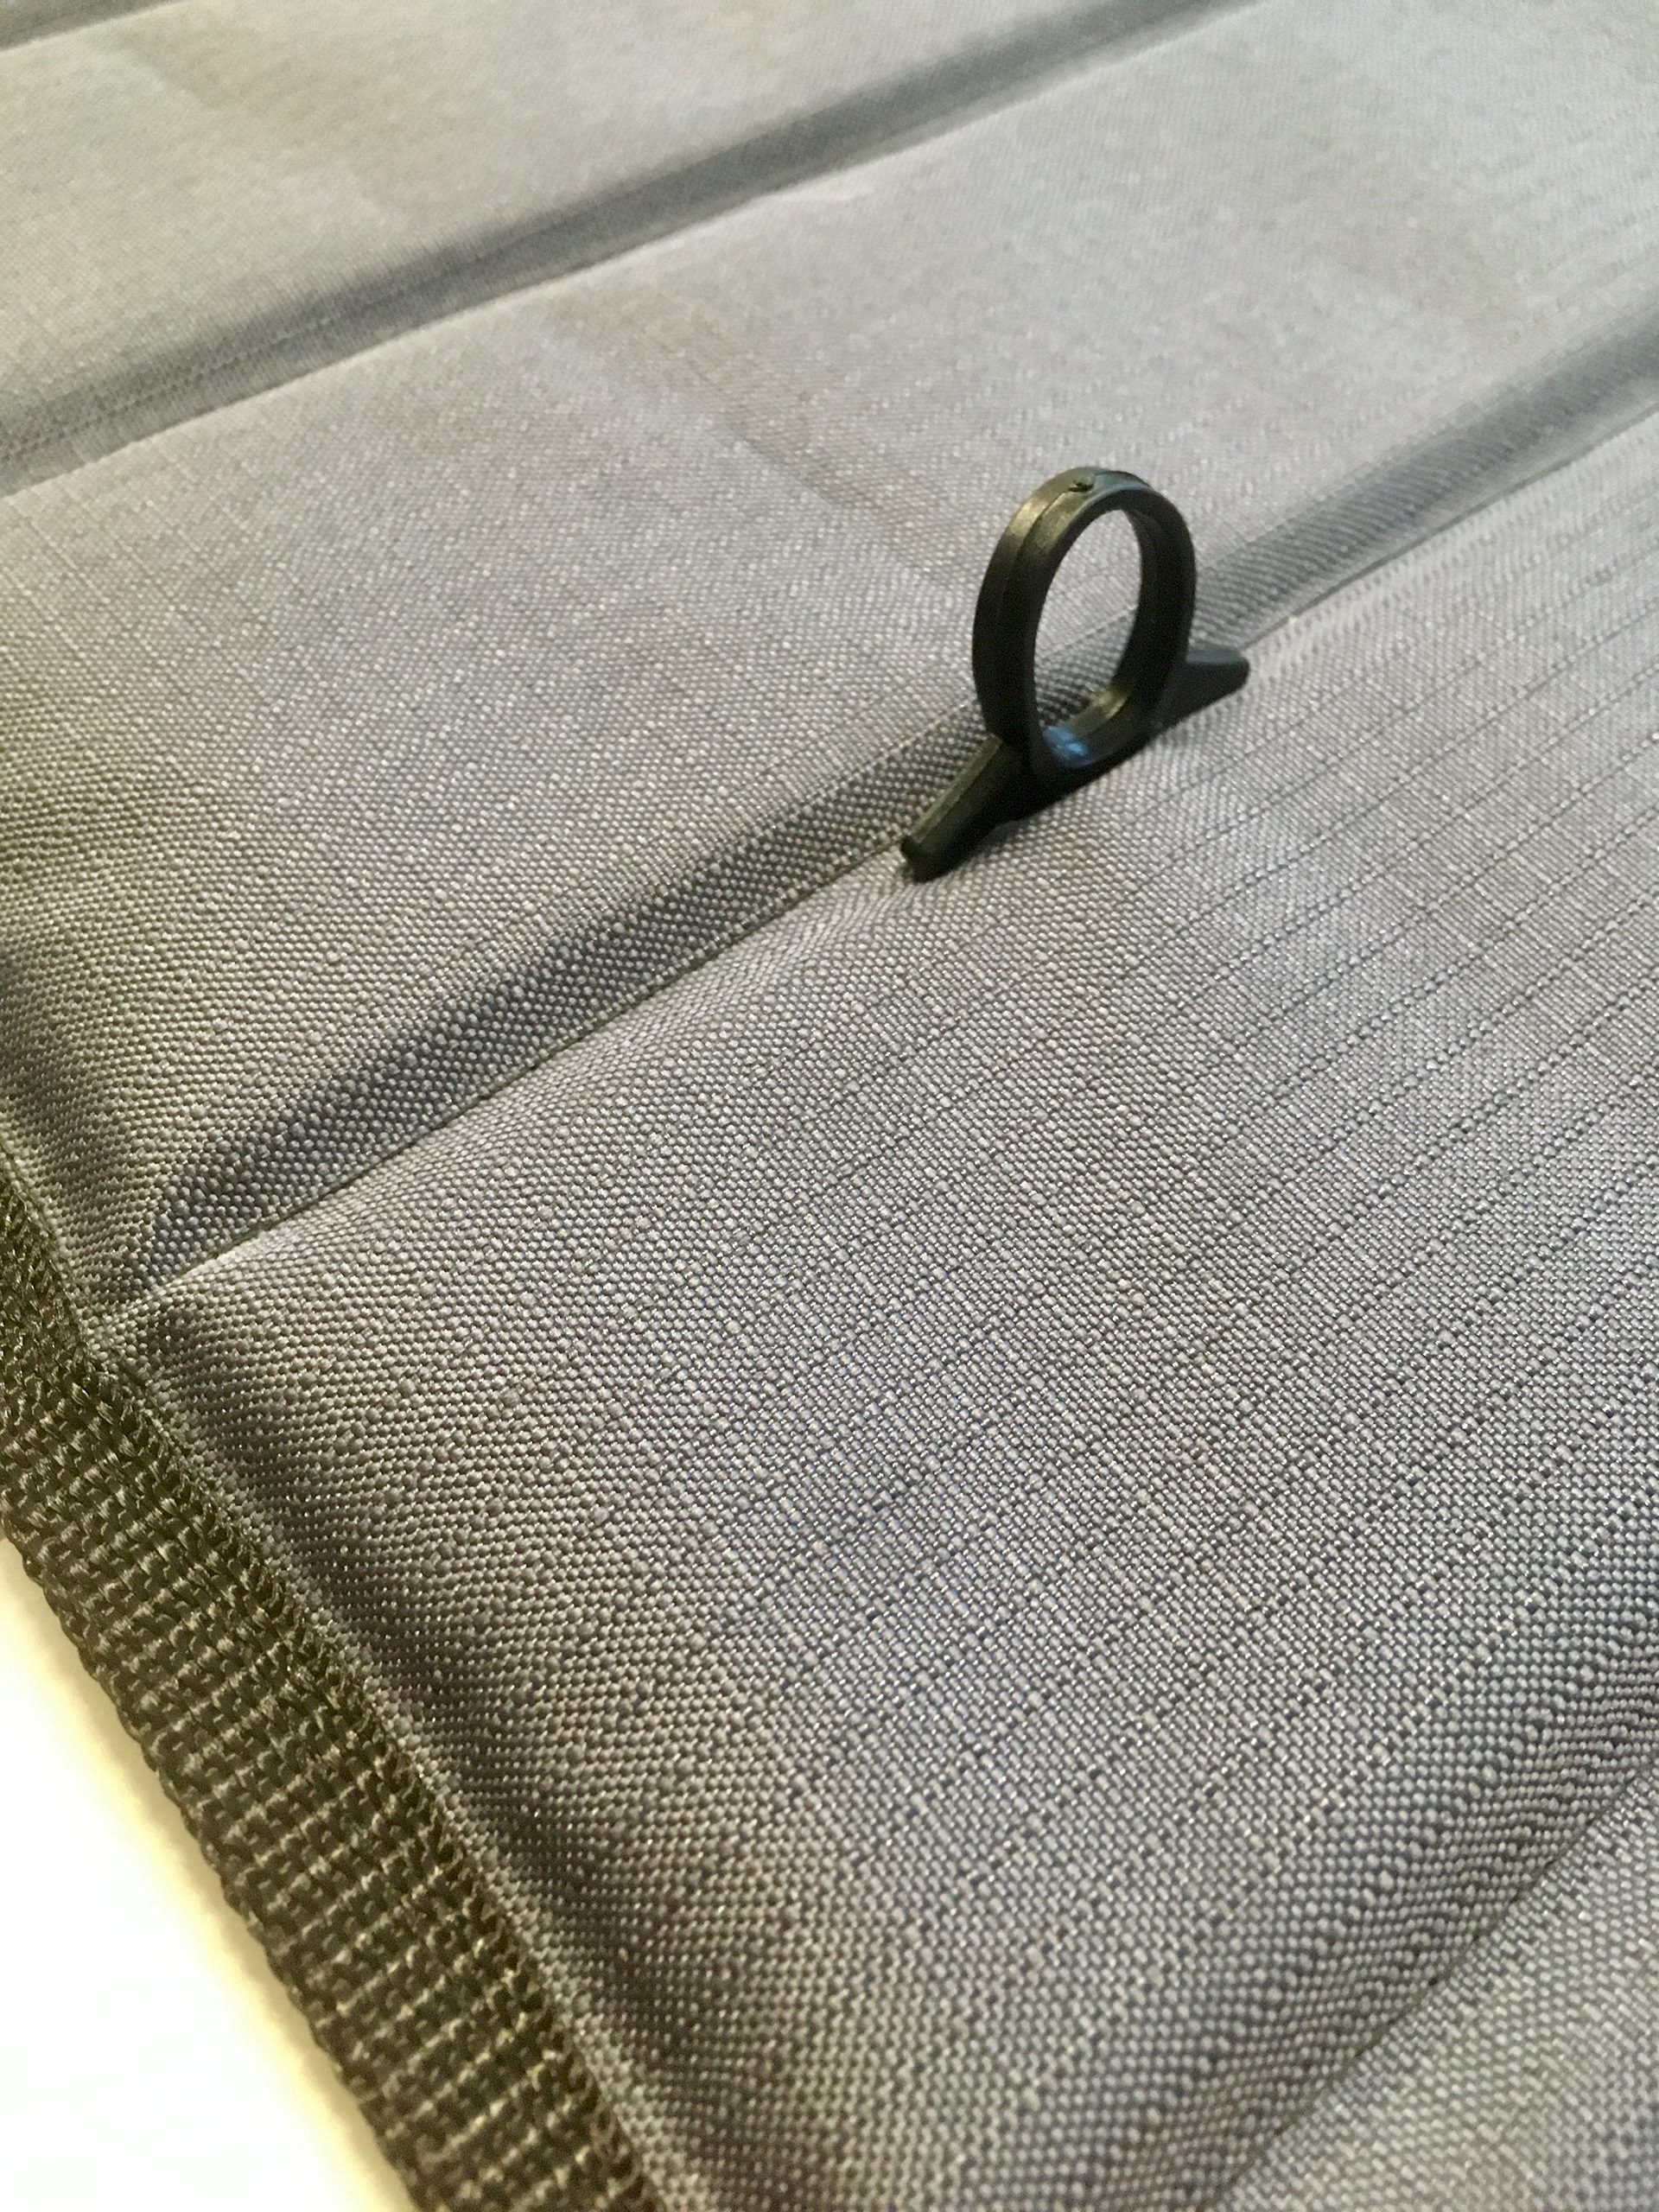
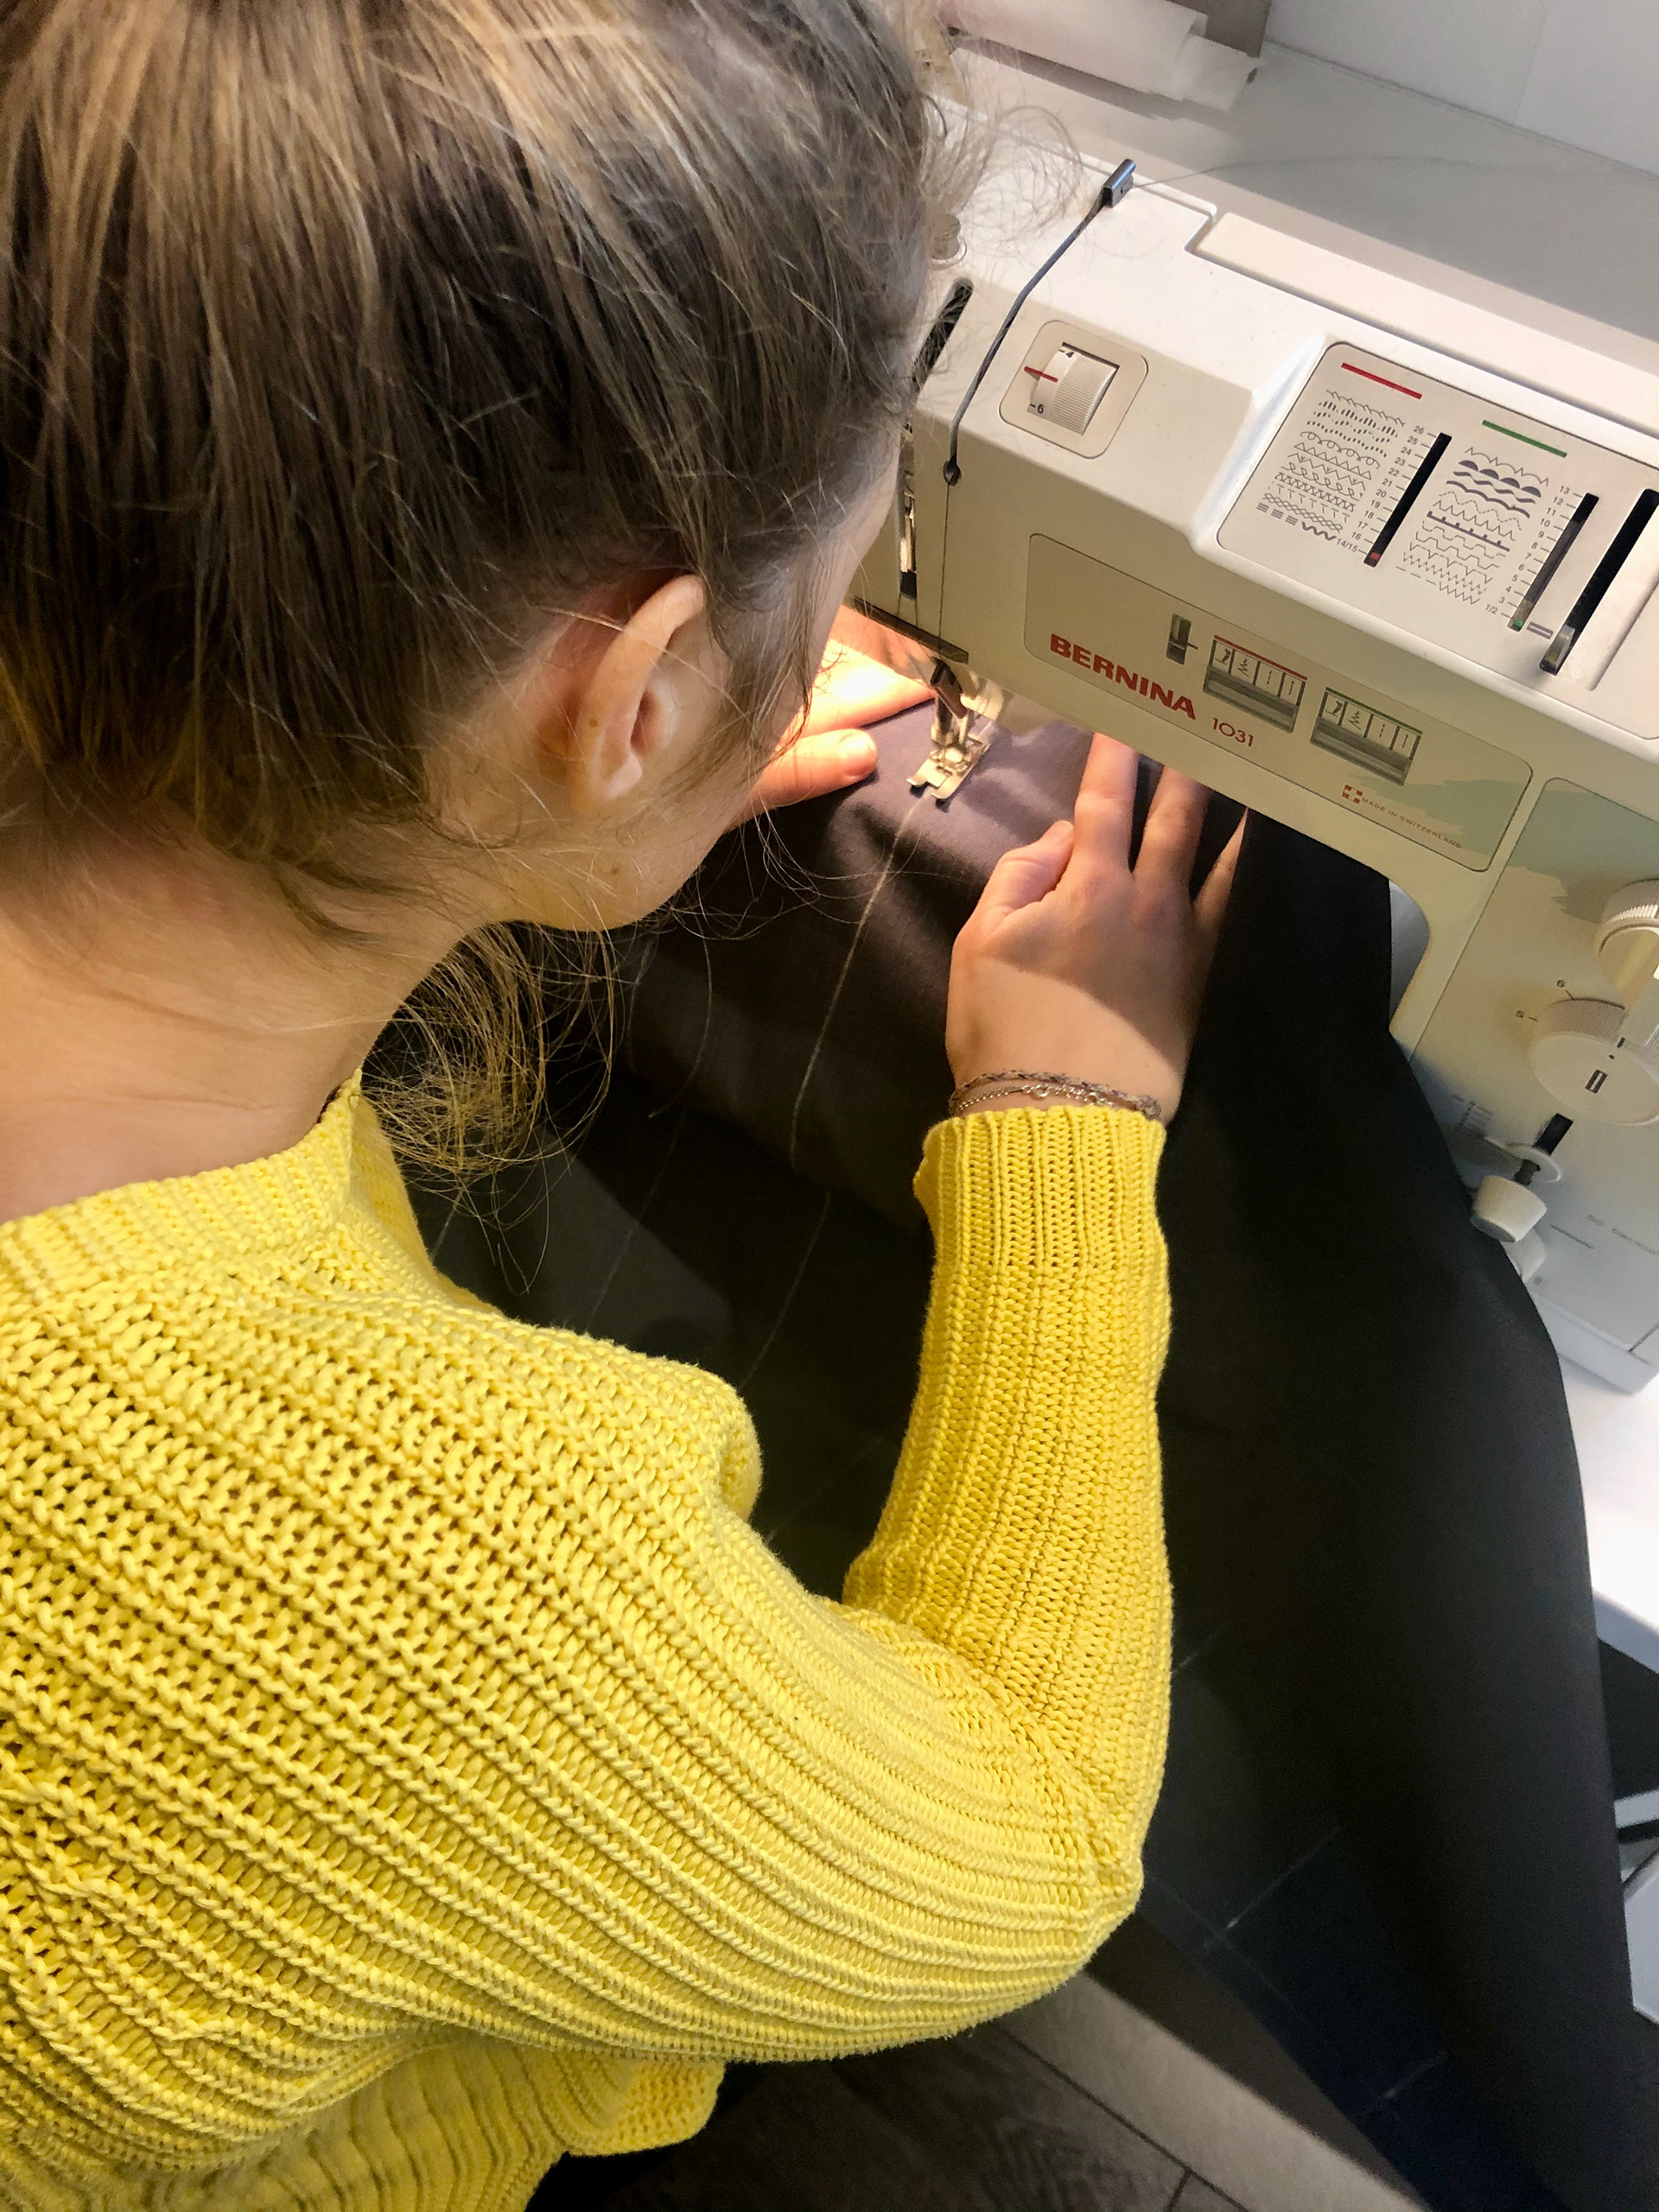
After precisely measuring each window, we cut the fabric and stitched the black and grey fabrics together along the outer edges, leaving the bottom side open. Then we stitched the 8cm wide vertical pockets. We cut the camping mats in 7cm wide pieces so we could fit them into the pockets. Because the black side will be facing the outside, we fitted the reflecting side of the mat towards this side hoping to reflect some sunlight in sunny weather. With every pocket filled, we closed the blinds by stitching also the bottom side. Because of our lack of experience with using a sewing machine, the edges of the blinds where not looking as good as we'd hoped. So we decided to finish them off with thick, durable PP edging straps, which will also protect the fabric's edges from fraying and make the blinds even more durable. We used suction cups to attach them to the windows. This works perfectly in almost any condition, however we noticed in minus 10ºC they started having problems and wouldn't stick as well to the icy windows!
Materials used
6 meters of Cordura® Ripstop Fabric (150cm wide)
20 meters of PP edging strap (2.5cm wide)
6 insulating camping mats (180x50cm)
40 suction cups
Total costs
Approx. €150,-